Vegan Coconut Curry Ramen Flavorful and Healthy Dish
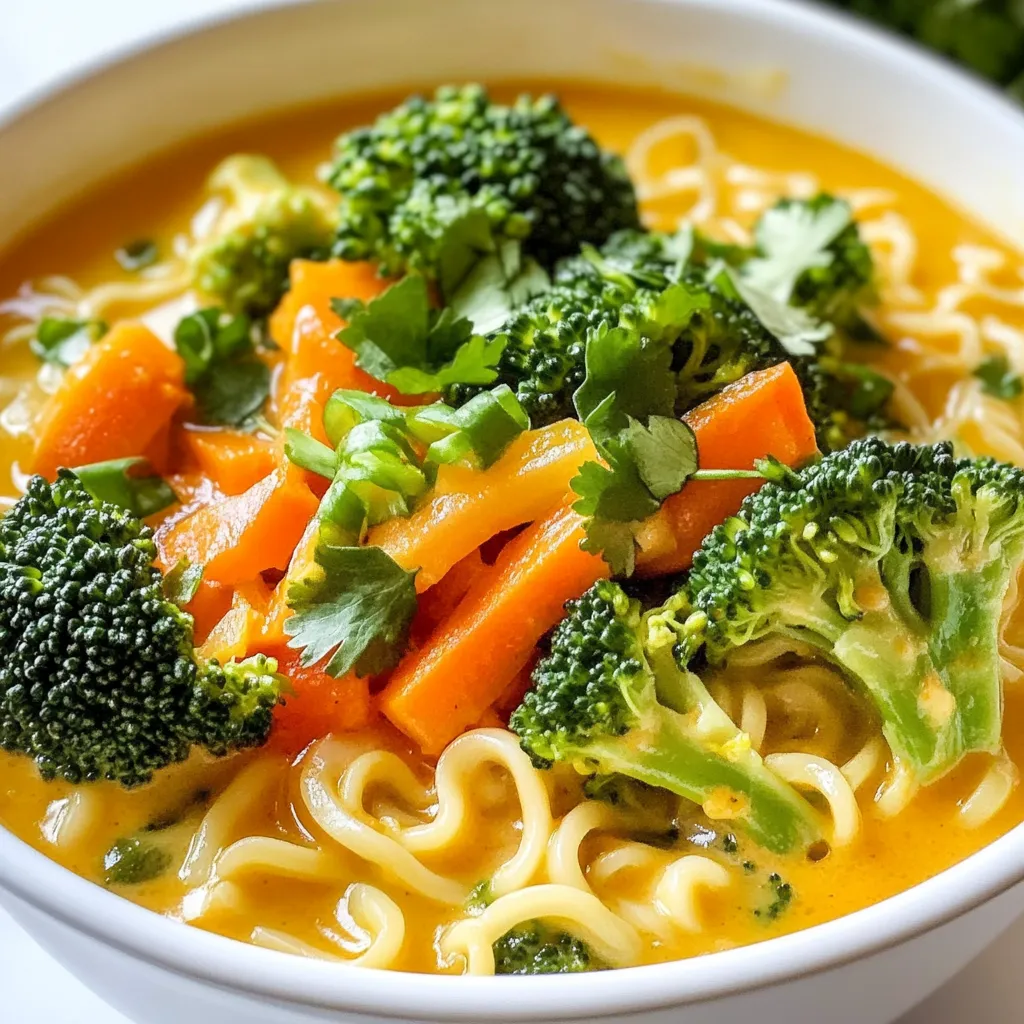
Are you ready to dive into a bowl of Vegan Coconut Curry Ramen that is both flavorful and healthy? This dish is simple to make and perfect for anyone craving …
Are you ready to dive into a bowl of Vegan Coconut Curry Ramen that is both flavorful and healthy? This dish is simple to make and perfect for anyone craving …

Looking for a quick and delicious treat? You’ll love my easy chocolate-covered banana bites! With just a few simple ingredients and steps, you can whip up these sweet delights at …

Are you ready to whip up a delicious treat? My Peanut Butter Chocolate Rice Krispie Treats Delight will please your sweet tooth and impress your friends. These easy-to-make bars combine …
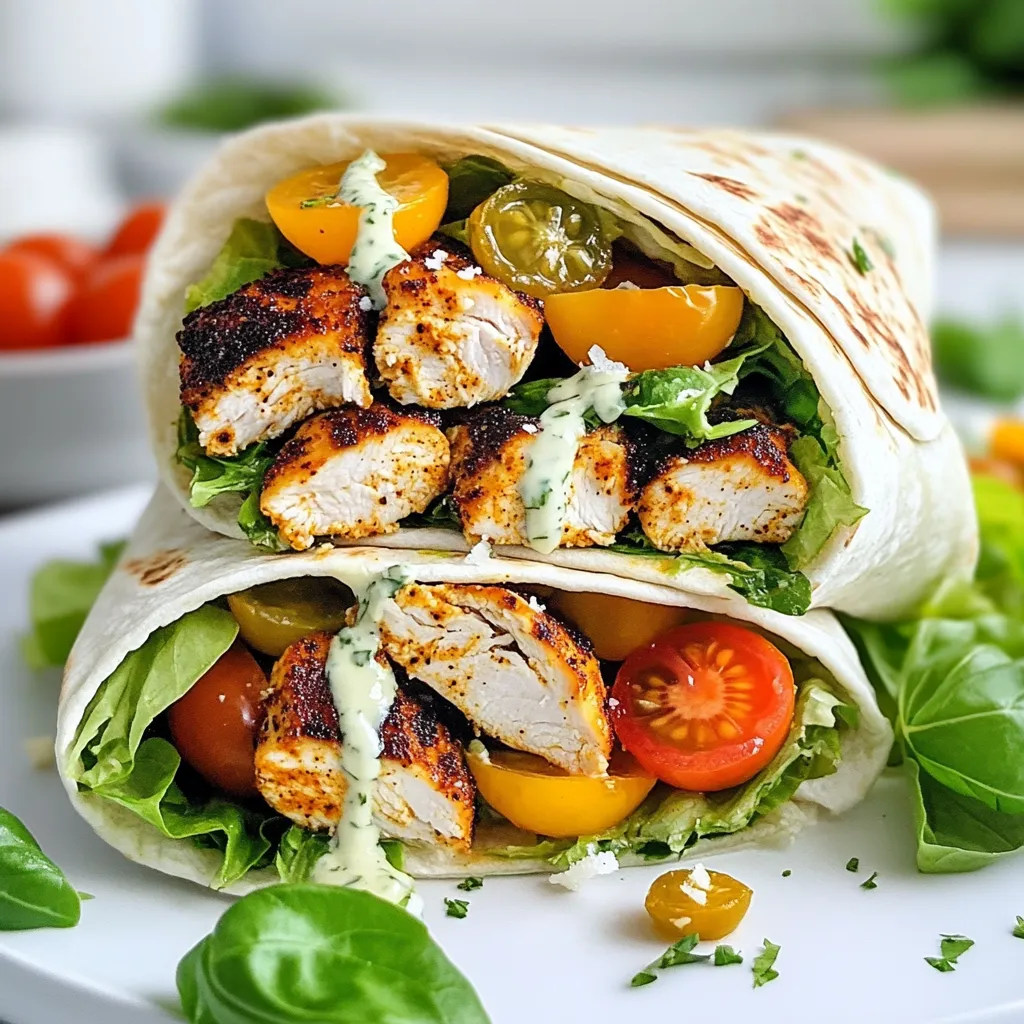
Are you ready to spice up your lunch? The Blackened Chicken Caesar Wrap offers a tasty twist on a classic dish. This meal is not just simple; it’s packed with …

Are you ready to spice up your taco night? Firecracker Shrimp Tacos are packed with flavor and super easy to make. With a few simple ingredients and quick steps, you …
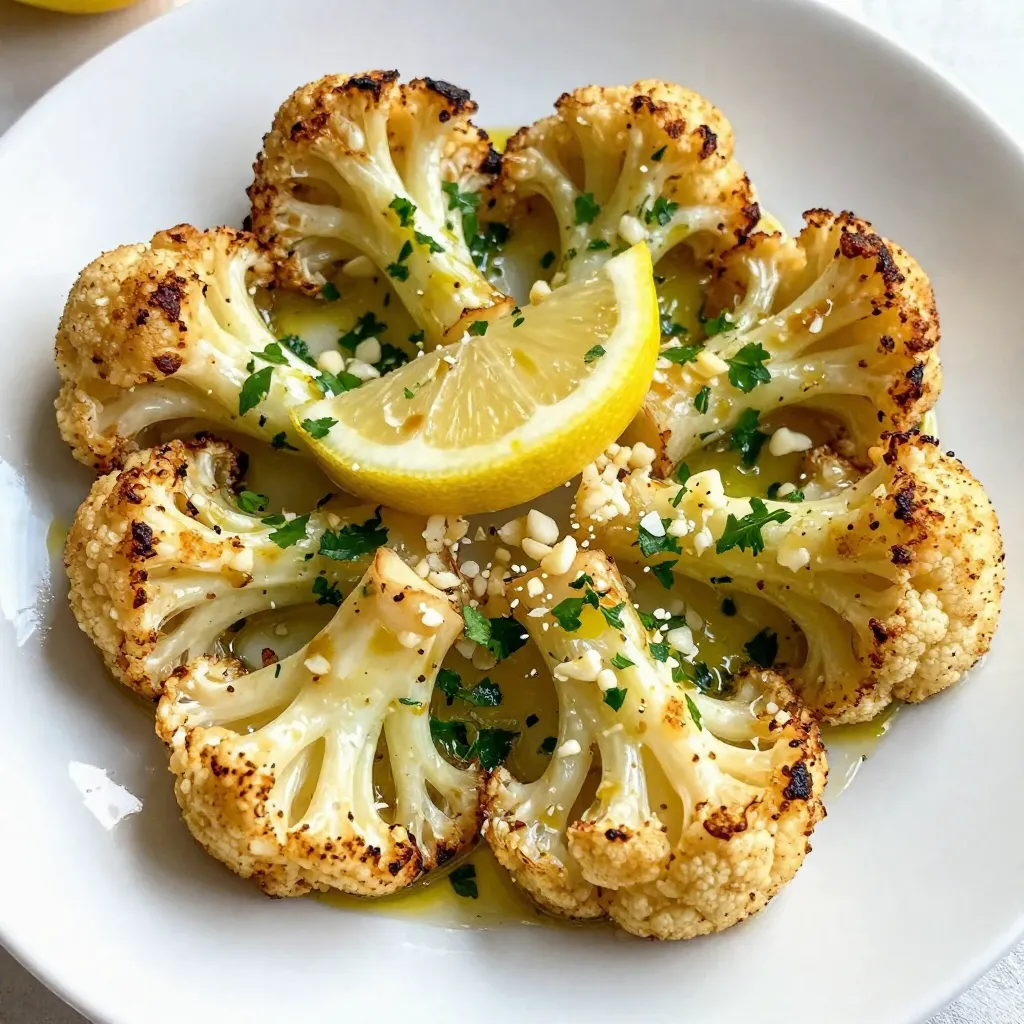
Looking for a side dish that steals the show? Try my Garlic Parmesan Roasted Cauliflower! It’s easy, quick, and packs a punch of flavor. Whether you’re hosting a dinner or …
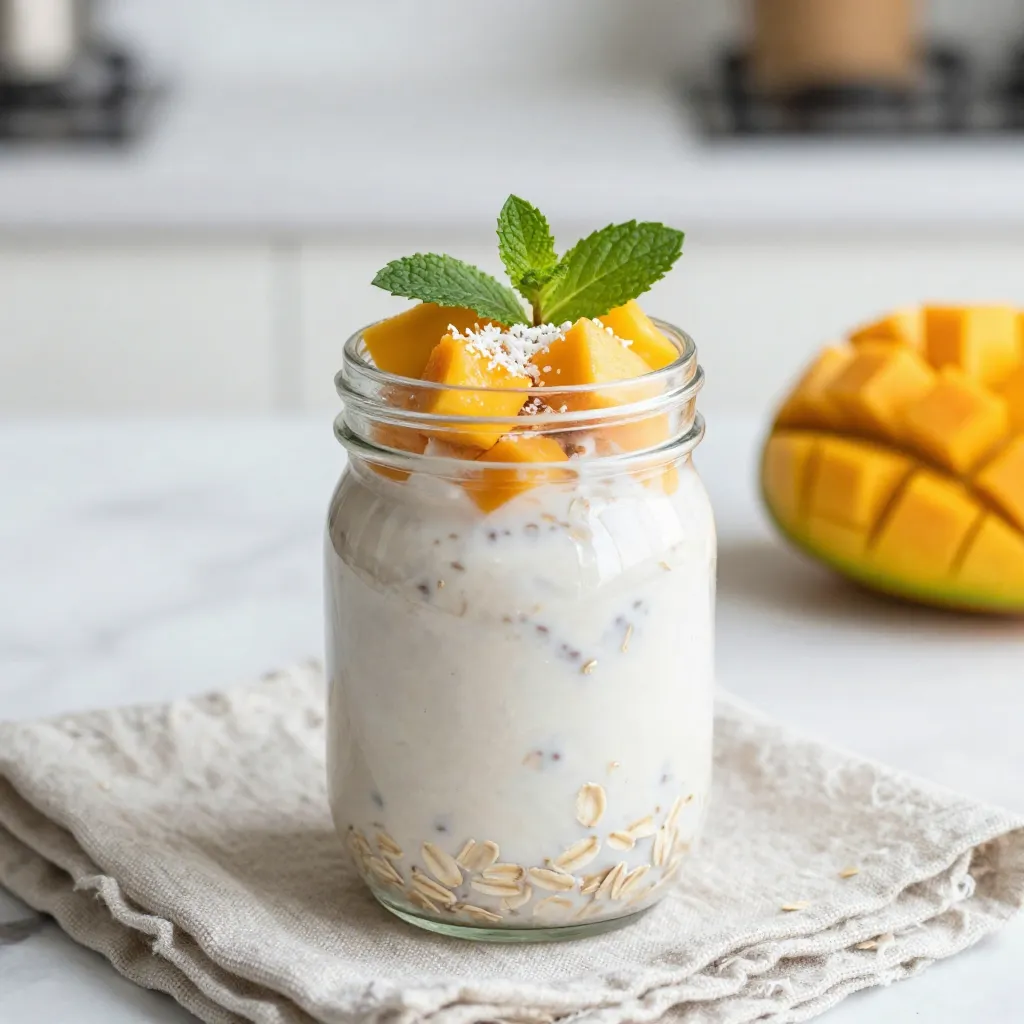
Start your day with a burst of tropical flavor! This Mango Coconut Overnight Oats recipe is not only easy but also delicious. You only need a few simple ingredients and …
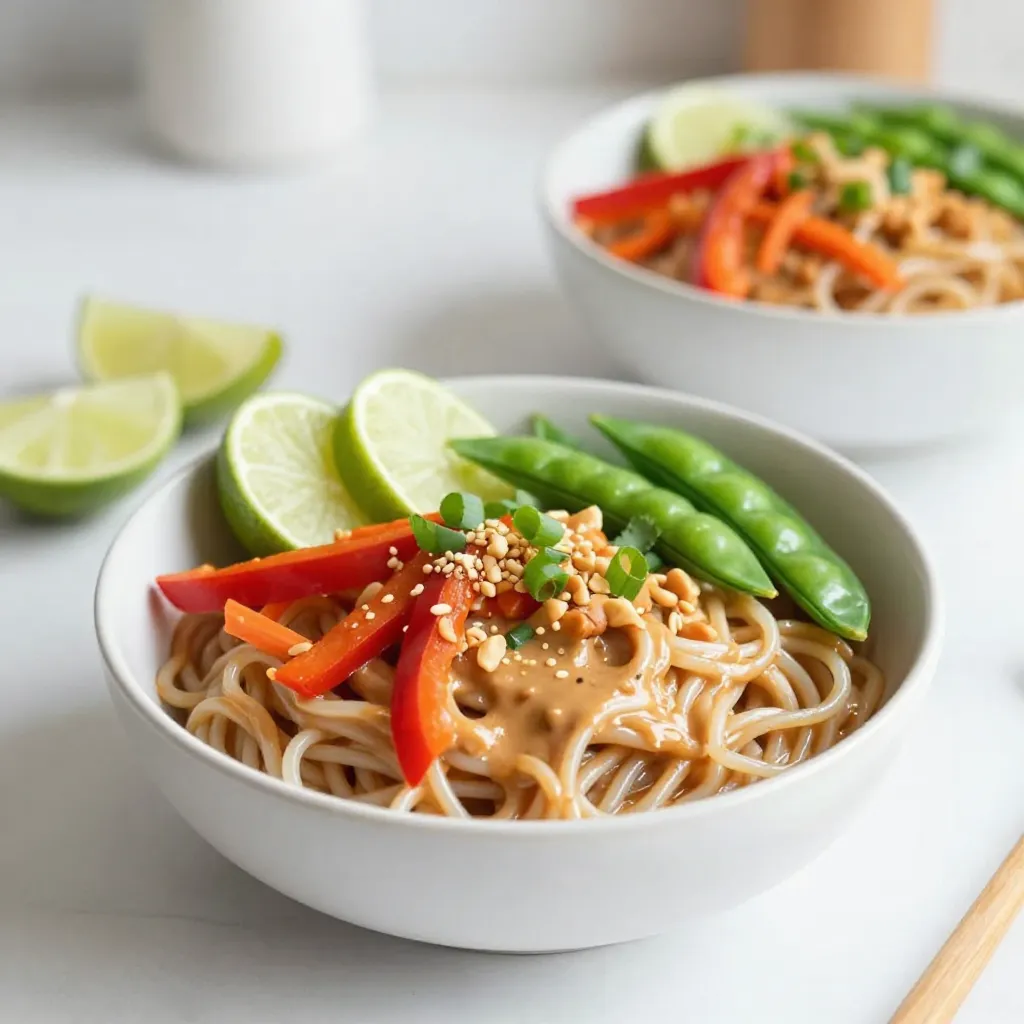
Looking for a quick and easy meal that packs a punch? You’ve found it! Spicy Peanut Noodle Bowls offer bold flavors and a satisfying crunch. With just a few simple …
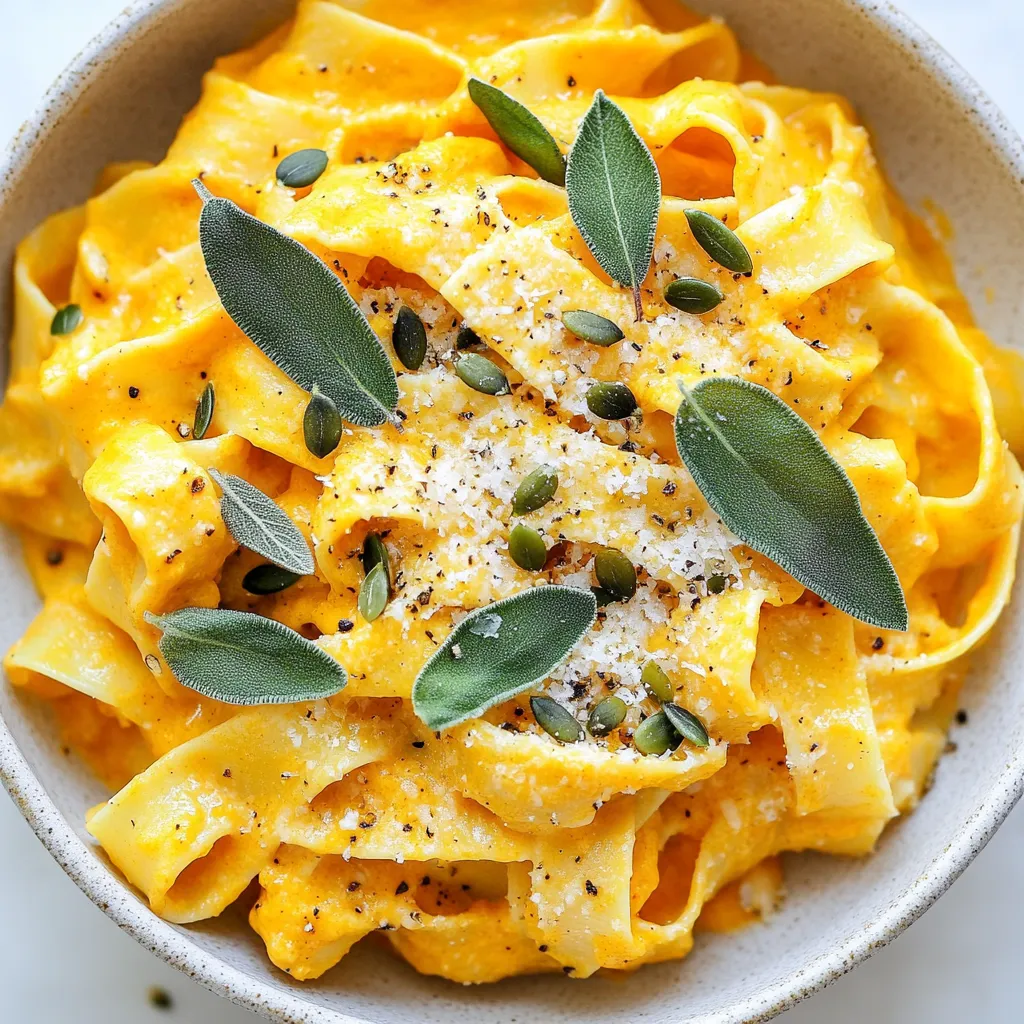
Are you ready to dive into a bowl of warm comfort? Creamy Pumpkin Sage Pasta is a delightful fall dish that you can whip up in no time. The blend …
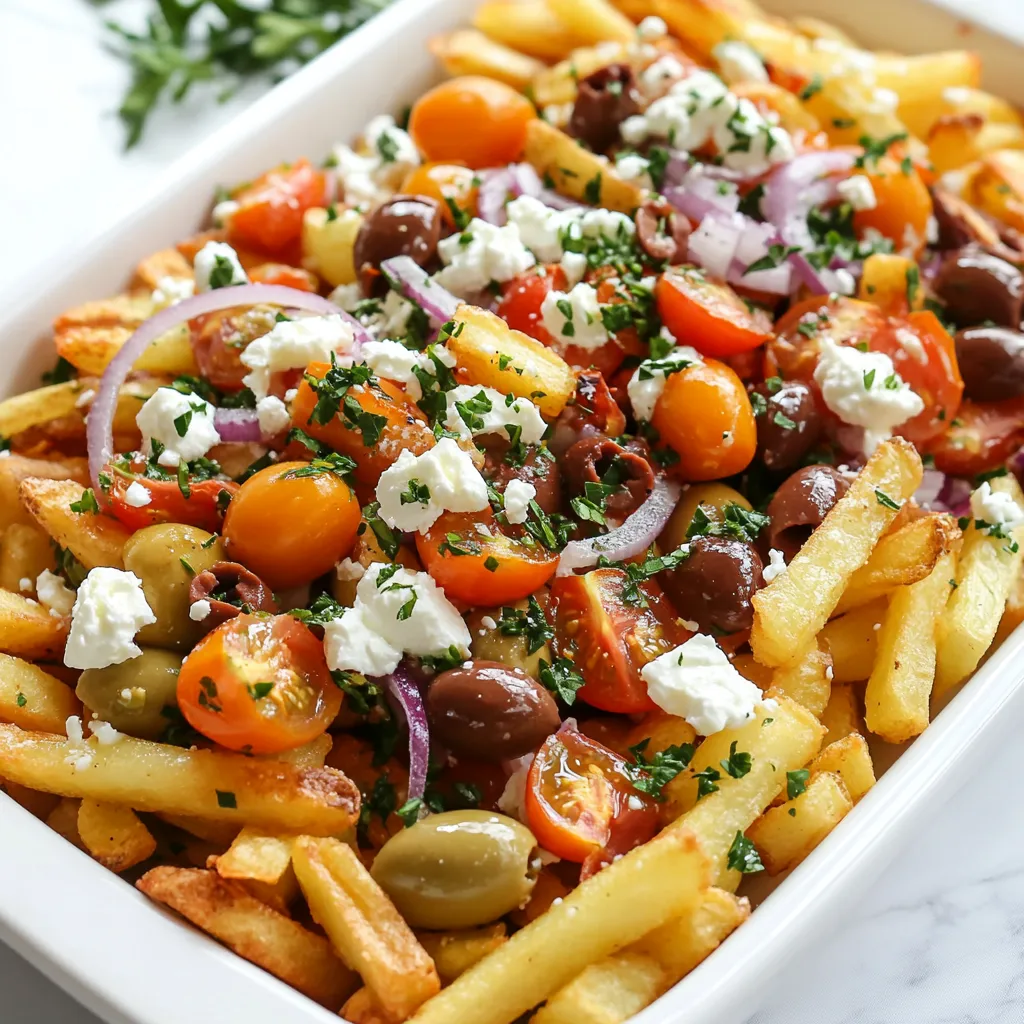
Looking for a dish that packs bold taste and a fun twist? Loaded Greek fries deliver irresistible flavor in every bite! Imagine crispy fries topped with creamy Greek yogurt, sharp …