Sticky Beef Noodles Flavorful and Easy Dinner Recipe
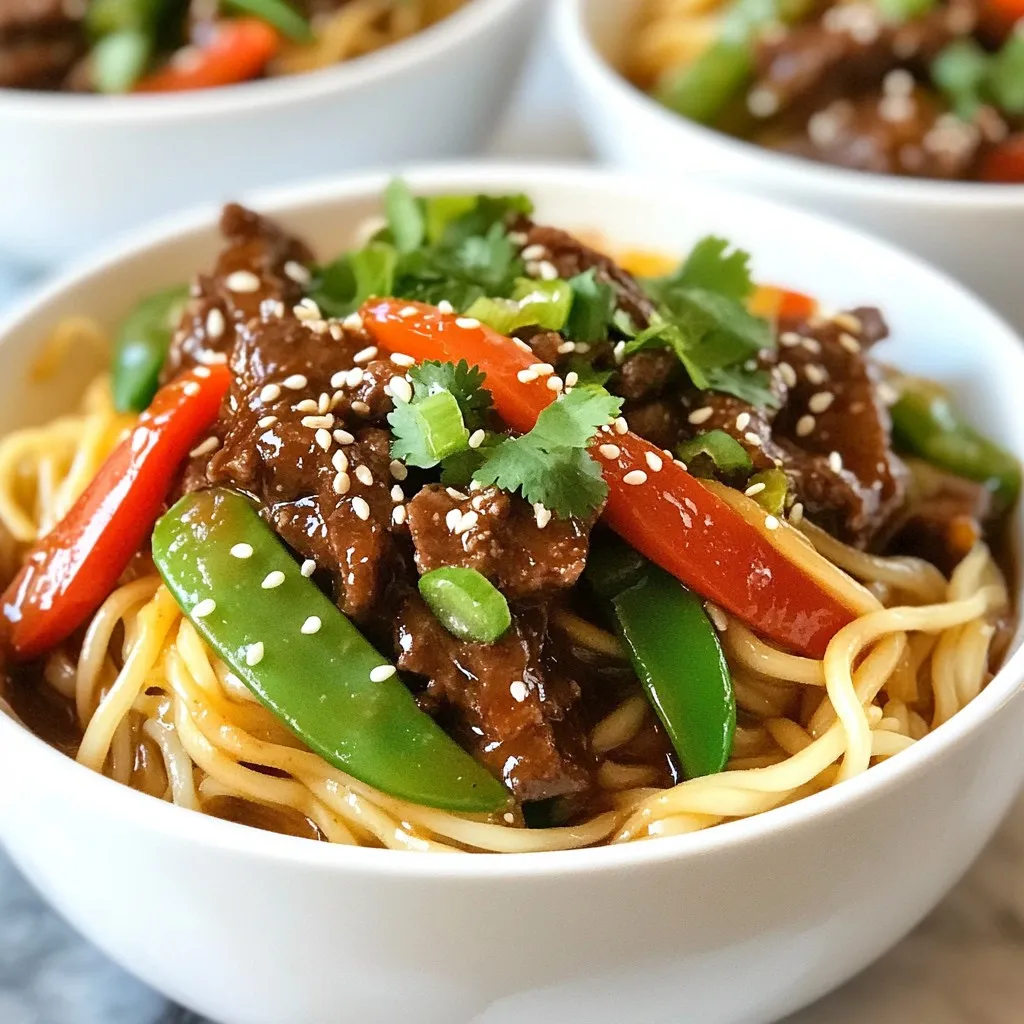
Craving something delicious yet simple? Look no further! My Sticky Beef Noodles are here to save dinner time. With tender beef, fresh veggies, and mouth-watering sauces, this easy recipe will …