Fresh Cucumber Chicken Salad Tasty and Light Dish
, please refer to the ingredients and instructions listed above. Enjoy! In this post, I shared how to make a fresh cucumber chicken salad. We covered key ingredients and the importance of using fresh ones. I detailed steps for prepping, mixing, and serving. You learned tips for keeping it fresh and ideas for variations. I also provided nutritional info and storage techniques. This salad is healthy, easy to make, and versatile. Enjoy creating your twist on this dish!](https://tossedflavors.com/wp-content/uploads/2025/08/43489b1b-c3ba-45ac-9b9d-e6d6dc525c0f.webp)
Looking for a tasty and light dish? Try my Fresh Cucumber Chicken Salad! This vibrant mix of shredded chicken and crisp veggies is perfect for warm days. With just a …
Looking for a tasty and light dish? Try my Fresh Cucumber Chicken Salad! This vibrant mix of shredded chicken and crisp veggies is perfect for warm days. With just a …
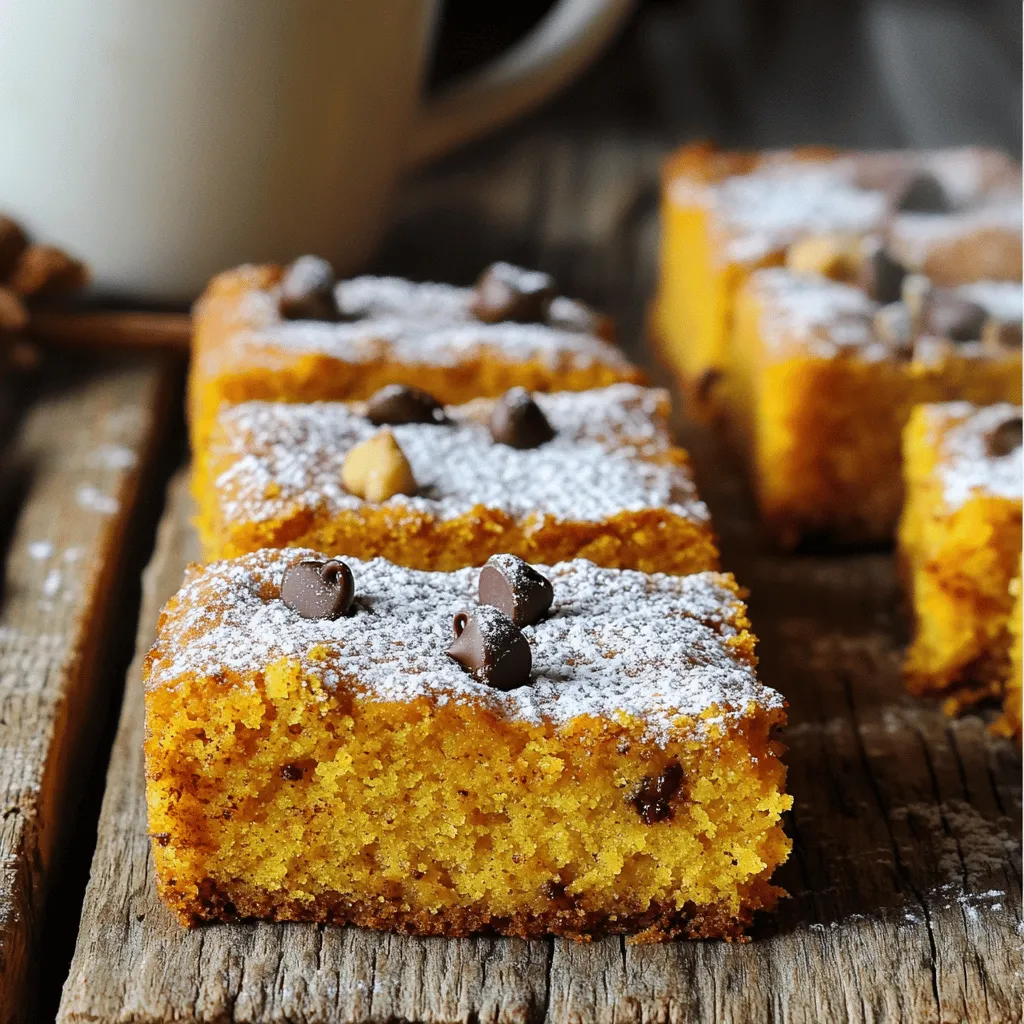
Are you ready to bake something wholesome and delicious? My Pumpkin Coffee Cake is not only easy to make, but it’s packed with fall flavors that everyone will love. Imagine …
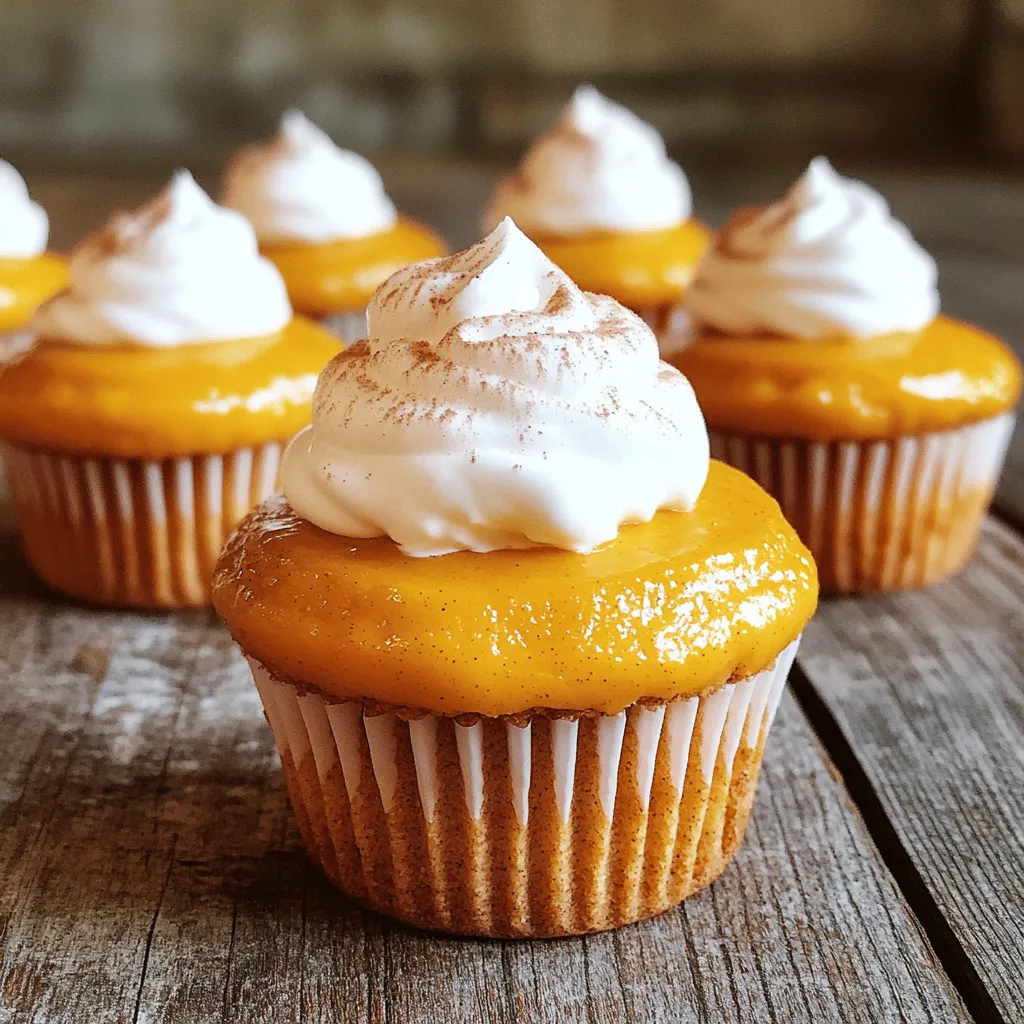
Get ready to indulge in fall’s favorite treat: Pumpkin Cheesecake Cupcakes! These mini delights combine the rich flavor of pumpkin with creamy cheesecake and a buttery graham cracker crust. Perfect …
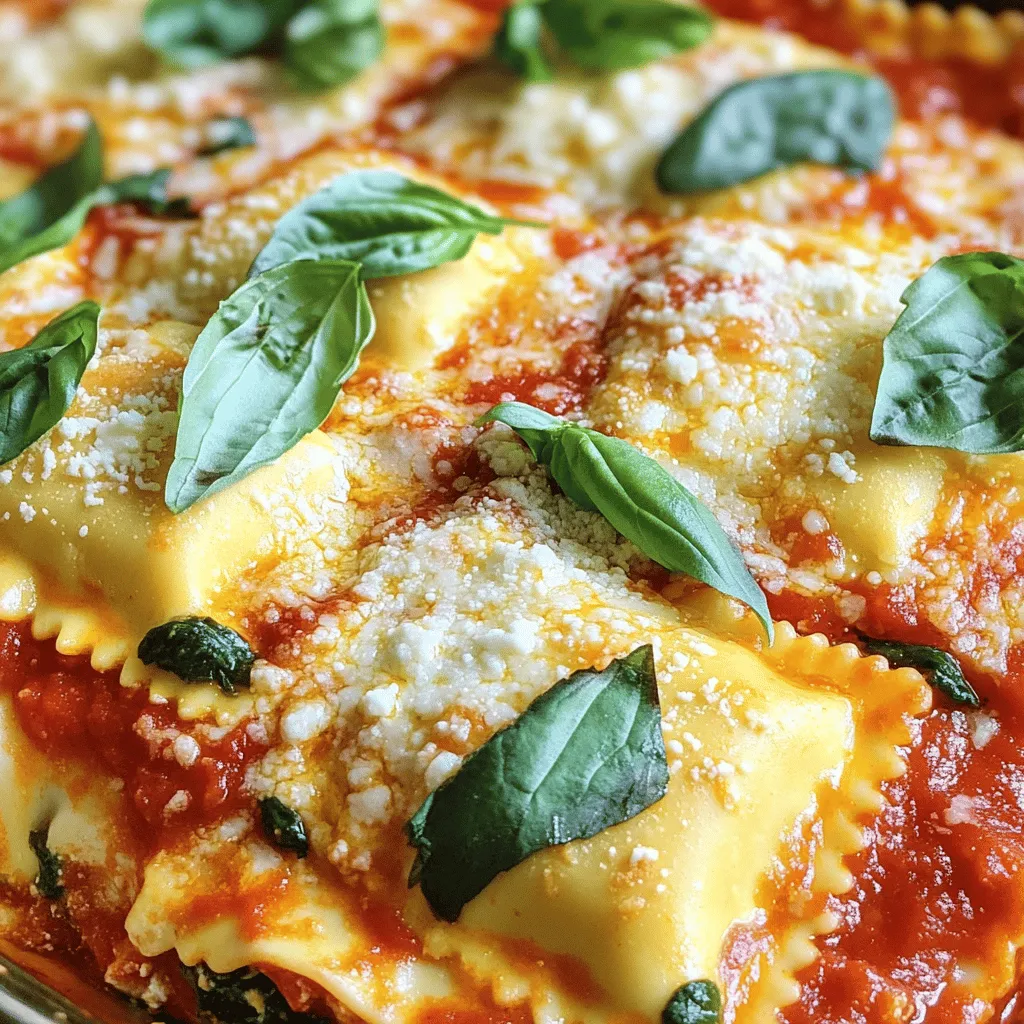
Are you ready for a meal that’s both easy and packed with flavor? This Crockpot Ravioli Lasagna is your perfect solution. With just a few simple ingredients and minimal prep, …
![- 1 cup cold brew coffee - 1 cup heavy cream - 1 teaspoon pumpkin puree - 2 tablespoons powdered sugar - 1/2 teaspoon vanilla extract - 1/2 teaspoon pumpkin pie spice - Ice cubes - Extra pumpkin pie spice for garnish - Cinnamon stick for presentation The ingredients for this drink make it special. Each one adds a unique flavor. Cold brew coffee gives a smooth base. Heavy cream creates a rich and creamy topping. Pumpkin puree brings a warm, autumn taste. I love using powdered sugar because it melts easily. The vanilla extract adds sweetness and depth. Pumpkin pie spice ties everything together with cozy warmth. Ice cubes keep the drink cool and refreshing. For extra flair, you can add a sprinkle of pumpkin pie spice on top. A cinnamon stick makes a lovely garnish too. It adds a nice touch to your drink’s look. This recipe is simple to follow. You can find the full recipe in the previous section. Enjoy making this drink! - Brew a strong batch of cold brew coffee. I suggest using coarsely ground coffee for the best flavor. - Chill the coffee in the refrigerator. This step is key for a refreshing drink. - Combine heavy cream, pumpkin puree, powdered sugar, vanilla extract, and pumpkin pie spice in a mixing bowl. - Whip until soft peaks form. Be gentle; you want it airy and fluffy, not too stiff. - Fill a glass with ice cubes. This keeps your drink cold and refreshing. - Pour chilled coffee over the ice. Watch the beautiful layers form. - Spoon pumpkin cream on top. It should sit nicely on the coffee for that perfect look. For the full recipe, you can refer back to the top section to ensure you have all the ingredients and steps to make this delightful drink. Enjoy your homemade Pumpkin Cream Cold Brew! To avoid over-whipping the cream, stop when soft peaks form. If you whip too long, it can turn into butter. You want it to be light and airy. Achieving the right fluffiness is key to a great drink. Use a hand mixer or whisk, but be gentle. This will give you the perfect pumpkin cream. Adjust sweetness levels based on your taste. Start with two tablespoons of powdered sugar. If you like it sweeter, add more. You can also experiment with different spices. Try adding nutmeg or cinnamon for a twist. Each spice adds a unique flavor that makes this drink special. For the best glassware, use a tall, clear glass. This shows off the layers of coffee and cream. A clear straw also helps to see the drink better. For decorative garnishes, sprinkle extra pumpkin pie spice on top. You can also add a cinnamon stick as a stirrer. This gives your drink a nice touch and looks great! {{image_4}} You can swap regular cream for almond or oat milk. This makes the drink lighter and dairy-free. To make the pumpkin cream, use coconut cream instead of heavy cream. This keeps the rich flavor while being vegan. Both options add a new taste to the drink. Want to mix it up? You can add chocolate syrup or caramel to your drink. This gives it a sweet twist that many love. You can also infuse extra spices like nutmeg or ginger for a unique flavor. A little cinnamon can create a warm, inviting taste that feels like fall. If you want to serve friends, you can easily scale the recipe. Just double or triple the ingredients for more servings. For larger batches, adjust the ratios of cream and coffee. This way, everyone can enjoy a cup of this delightful drink. For the full recipe, check out the [Full Recipe]. Keep leftover pumpkin cream in the fridge. Use an airtight container to seal it well. This helps prevent it from absorbing other odors. The cream stays fresh for up to three days. If it starts to separate, just give it a quick whisk. Store leftover cold brew in a sealed pitcher. This keeps it fresh for about one week. If you want to save it longer, you can freeze it in ice cube trays. This way, you can add coffee cubes to future drinks without watering them down. To make cold brew, start with coarsely ground coffee. Use a ratio of 1 cup of coffee to 4 cups of cold water. Combine them in a large jar, then stir well. Let it steep for 12 to 24 hours in the fridge. After steeping, strain the mix through a coffee filter or a fine sieve. This gives you a strong, smooth coffee. Store it in the fridge for up to two weeks. You can use store-bought pumpkin spice cream. However, homemade cream offers fresh flavor and control over sweetness. Store-bought may have extra ingredients you might not want. Making it yourself allows you to adjust the spice mix and sweetness to your taste. Plus, it adds a personal touch to your drink. To adapt this recipe for a vegan diet, use plant-based cream. Almond or coconut cream works well. Replace heavy cream with a vegan alternative like oat milk or cashew cream. Use maple syrup instead of powdered sugar for sweetness. This way, you can enjoy the flavors without dairy. Serve this drink in a tall glass to show off the layers. Fill the glass with ice cubes first. Pour the cold brew carefully over the ice. Spoon the pumpkin cream on top gently. Finish with a sprinkle of extra pumpkin pie spice. For a fun touch, add a cinnamon stick as a stirrer. This enhances the experience and looks great in photos. You learned how to create a delicious copycat Pumpkin Cream Cold Brew. We covered key ingredients, step-by-step instructions, and tips for the best results. Don't forget the optional garnishes to make your drink shine. Experiment with flavors and adjust the recipe to fit your taste. Remember to store leftovers properly for later enjoyment. This drink can be a fun way to enjoy fall flavors any time. Happy brewing!](https://tossedflavors.com/wp-content/uploads/2025/08/b0912ef8-9a25-4cd3-883b-1d49af260bd3.webp)
Love the flavors of fall? You’re in for a treat with my Copycat Starbucks Pumpkin Cream Cold Brew Delight! This creamy, spiced drink is a cozy classic that you can …

Are you ready to take your fall treats to the next level? These Pumpkin Pie Cake Pops blend the classic flavors of pumpkin pie with a fun, portable twist. Perfect …
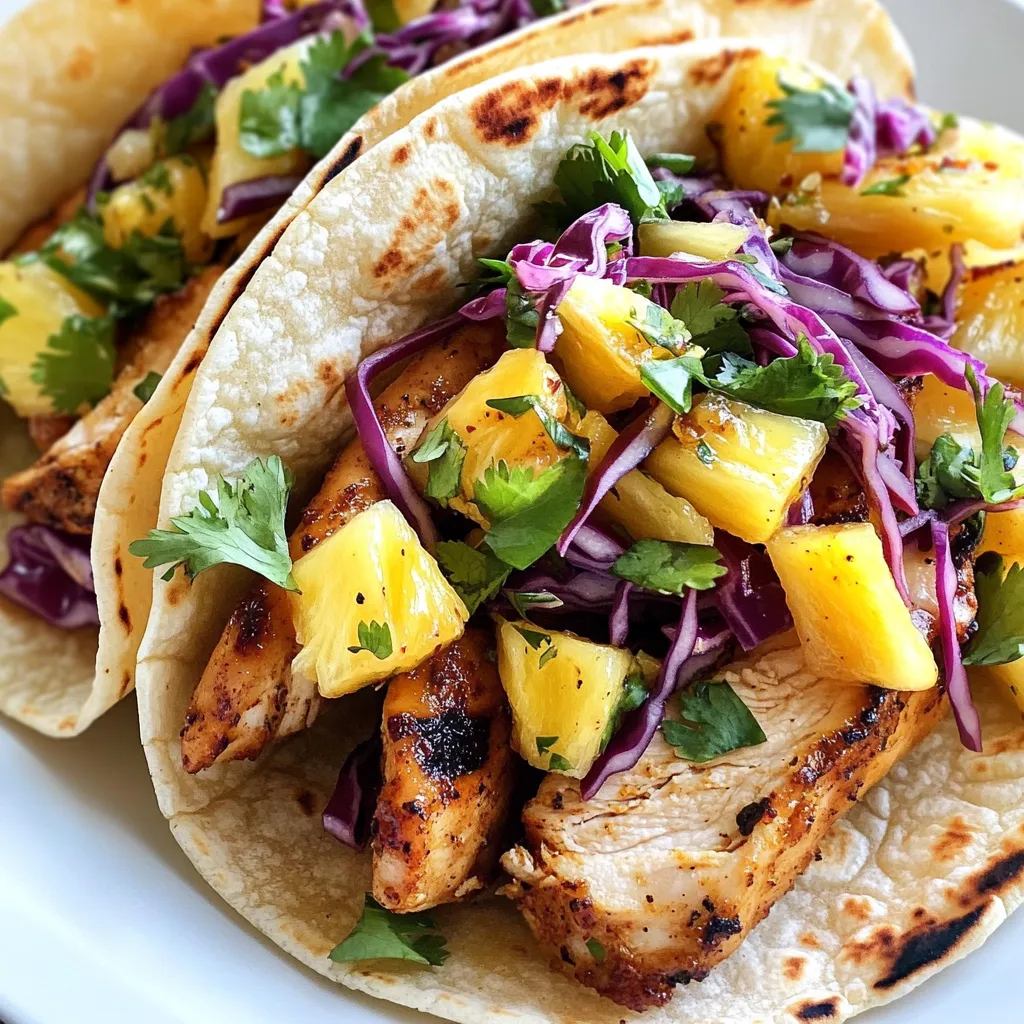
Are you ready to spice up your taco night? These Caribbean Jerk Chicken Tacos bring bold, vibrant flavors straight to your table. With juicy chicken marinated in a zesty blend …
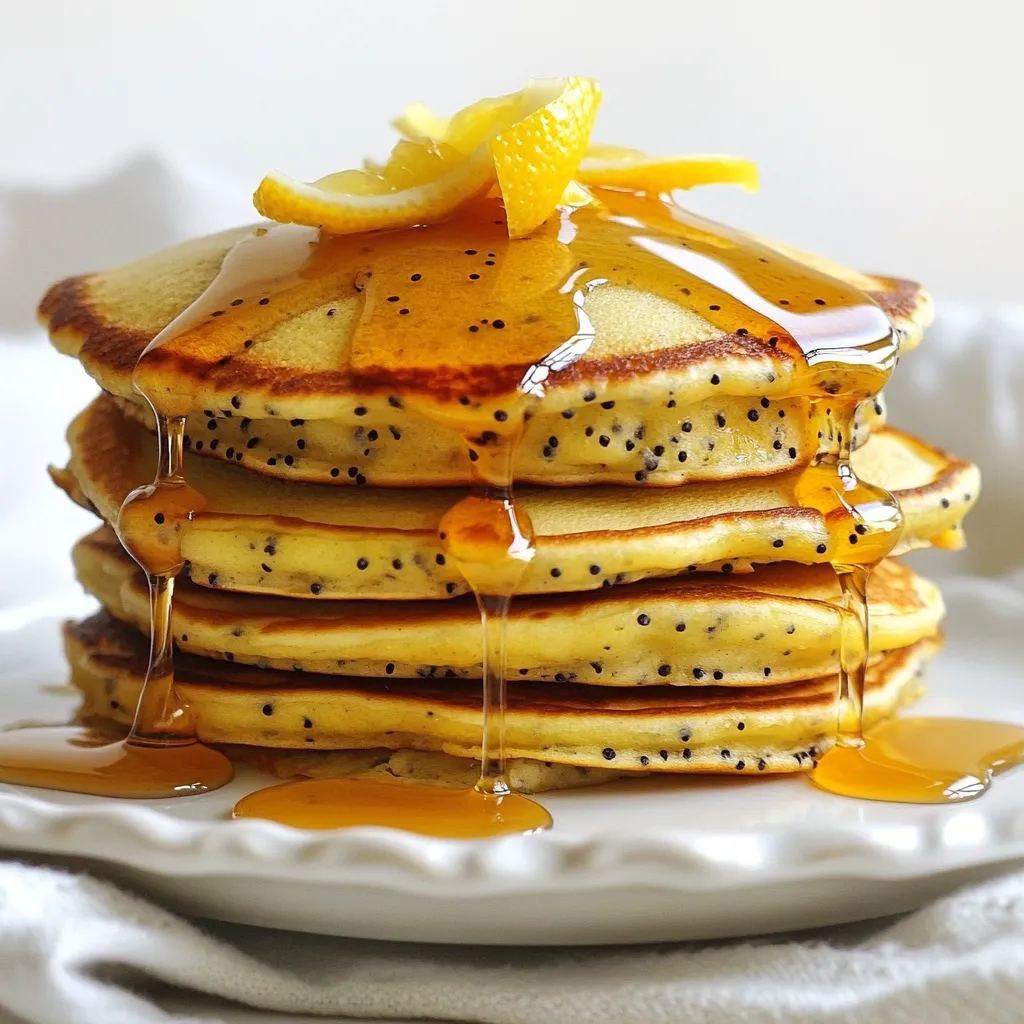
Start your day with a burst of flavor by making Lemon Poppy Seed Pancakes! These bright and zesty pancakes combine the tartness of lemon with the crunch of poppy seeds, …
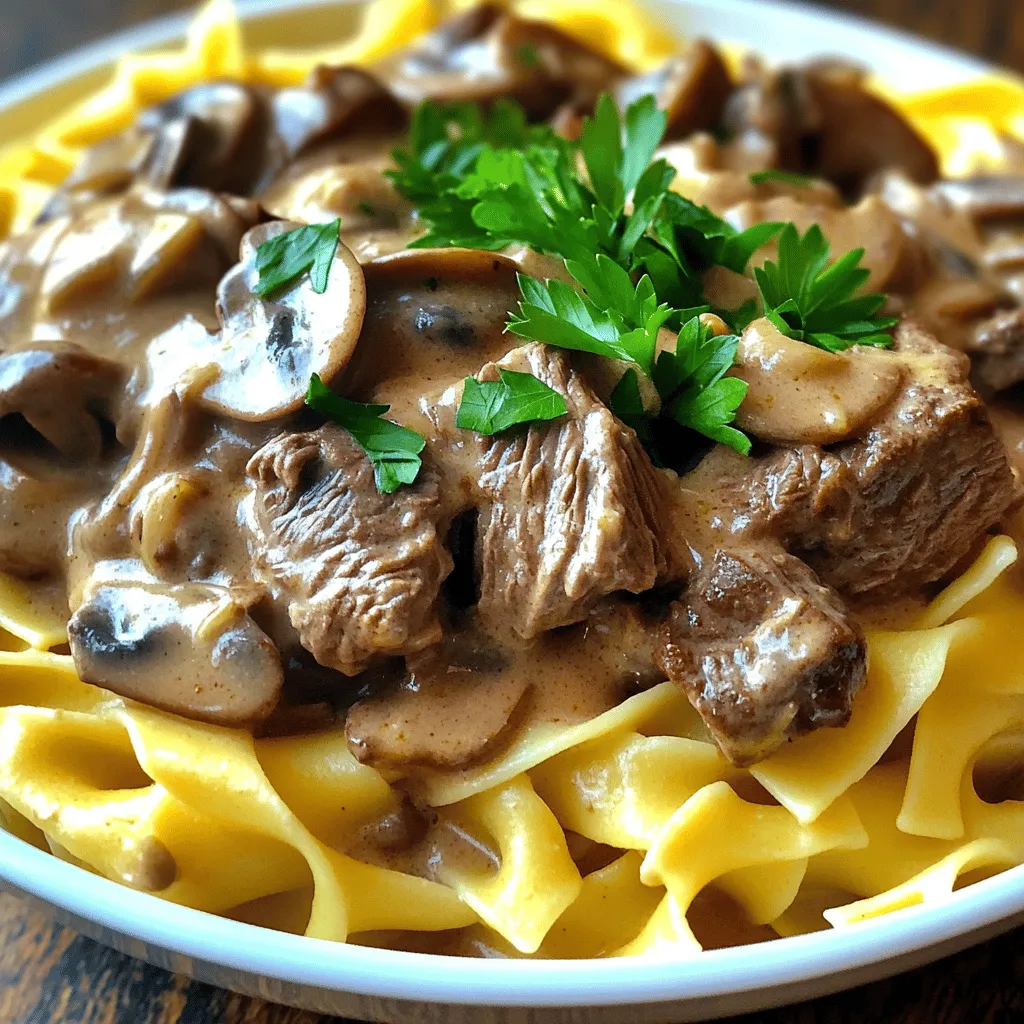
Welcome to my kitchen! Today, I’m excited to share my Savory Slow Cooker Beef Stroganoff Recipe Delight. This dish is a cozy classic that combines tender beef, savory mushrooms, and …
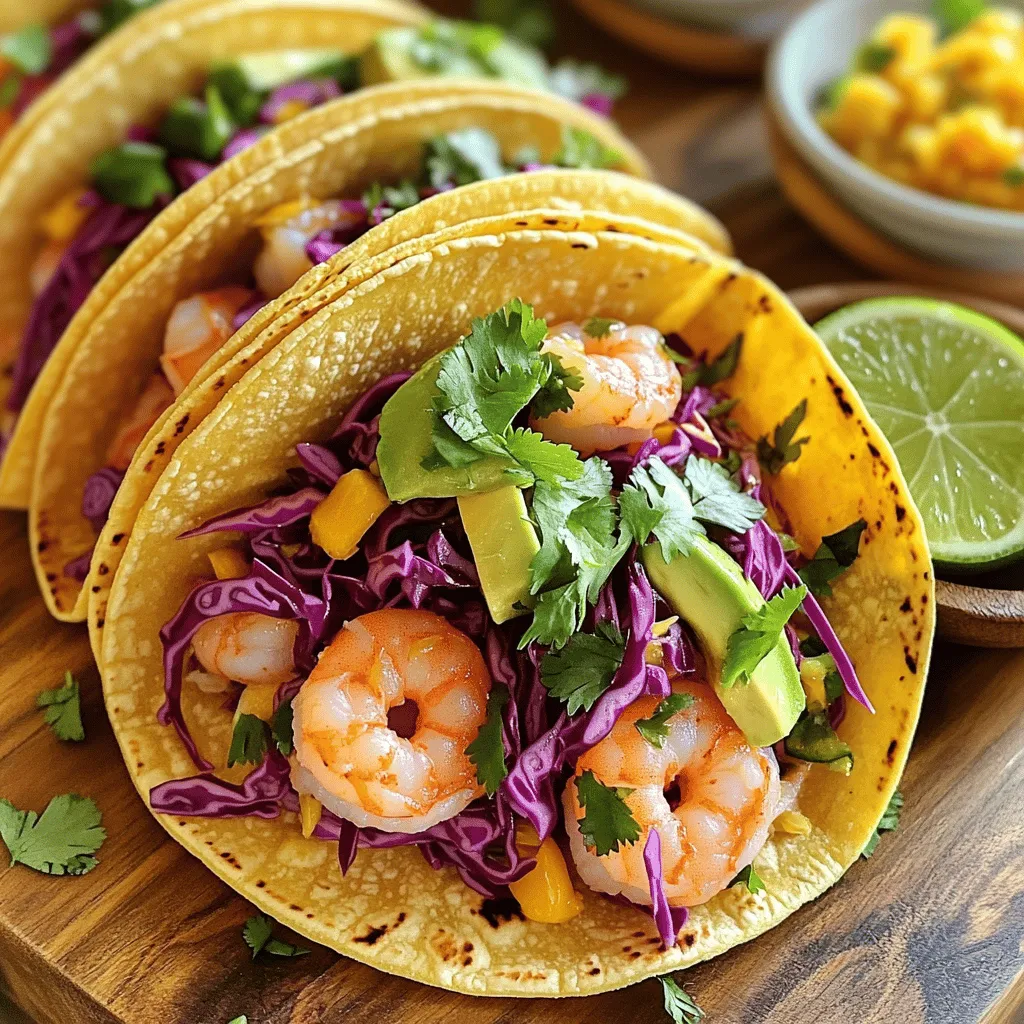
Craving a quick meal that bursts with flavor? These Easy Shrimp Tacos are your answer! I’ll guide you through simple steps, so you can make a delicious dinner in no …