Crispy Air Fryer Breakfast Potatoes Quick and Easy Recipe

Are you ready to enjoy the best breakfast potatoes ever? My Crispy Air Fryer Breakfast Potatoes are quick, easy, and packed with flavor. In this post, I’ll share my simple …
Are you ready to enjoy the best breakfast potatoes ever? My Crispy Air Fryer Breakfast Potatoes are quick, easy, and packed with flavor. In this post, I’ll share my simple …
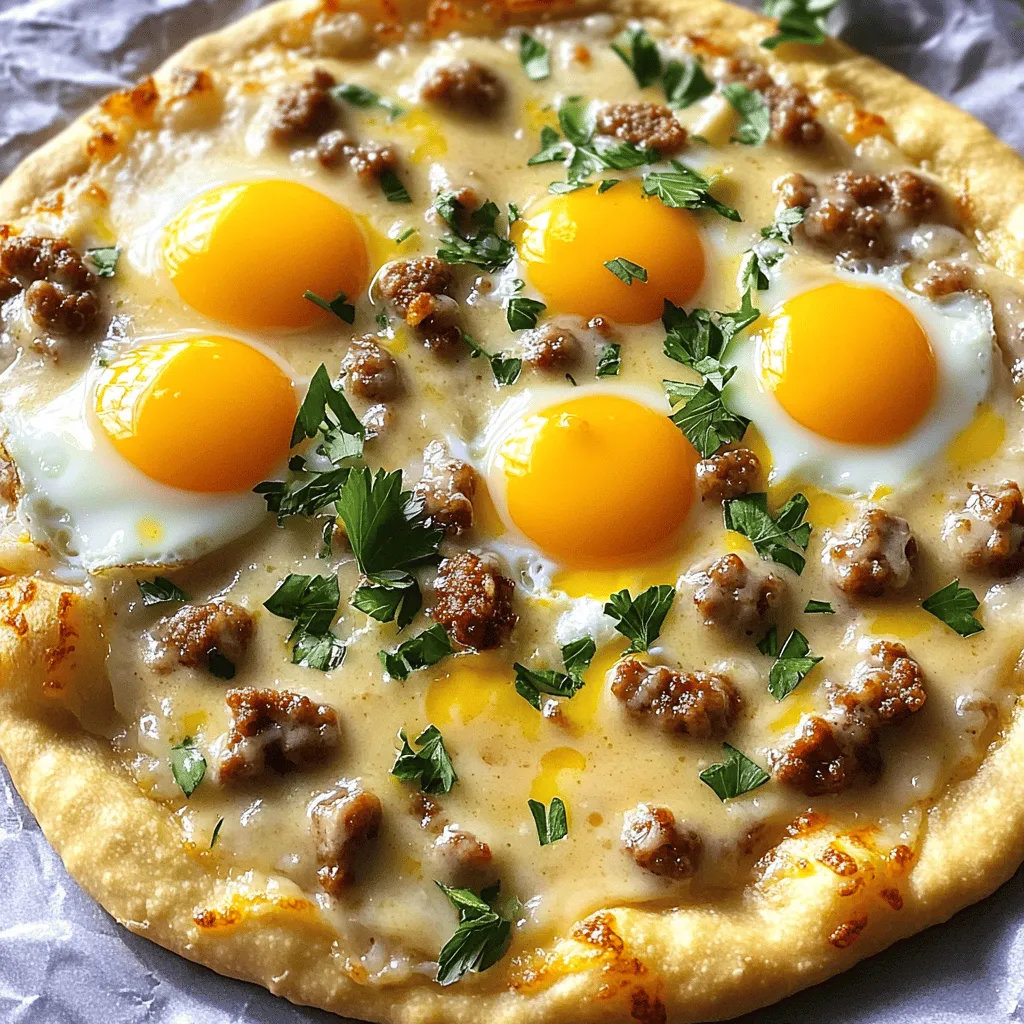
Start your morning with a bold twist on breakfast favorites: Sausage Gravy Breakfast Pizza! Picture a warm, flaky crust topped with savory sausage gravy, melty cheeses, and fresh eggs. This …
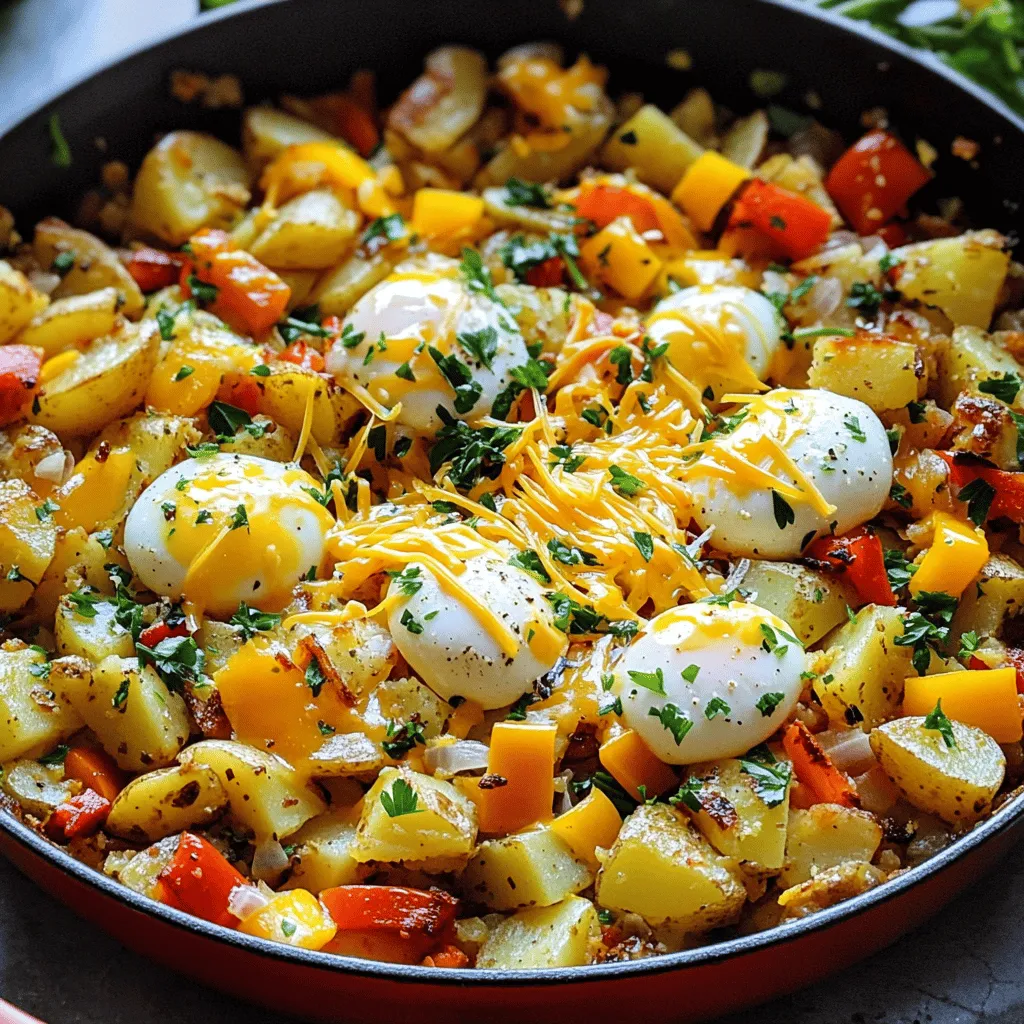
Are you ready to start your day with a burst of flavor? This Loaded Breakfast Hash is the perfect morning treat. Packed with hearty ingredients, it will fill you up …
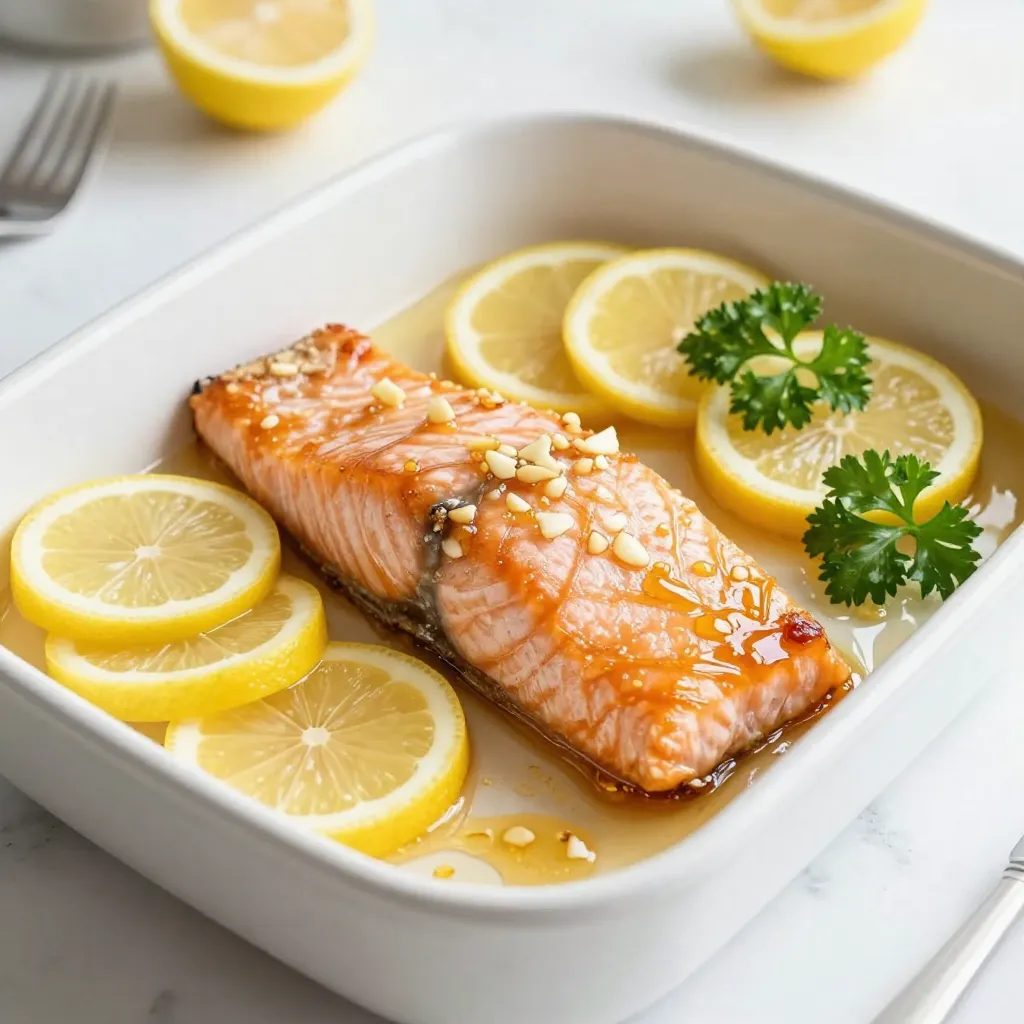
Craving a quick and tasty dinner option? Look no further than Honey Lemon Garlic Salmon! This easy dish bursts with fresh flavors and is made with simple ingredients you likely …
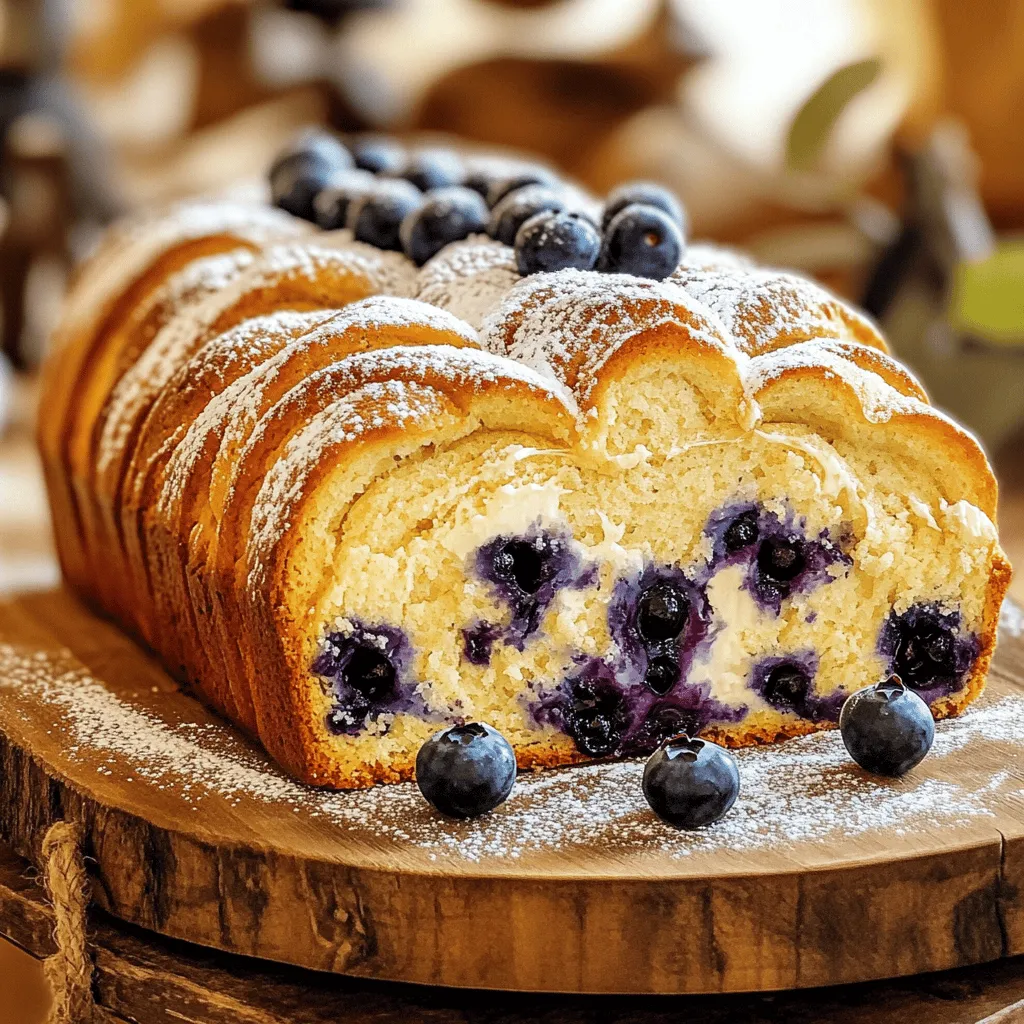
Looking for a sweet treat that’s simple to make and deliciously satisfying? You’ve found it! My Blueberry Cream Cheese Bread recipe combines juicy blueberries with creamy cheese for a delightful …
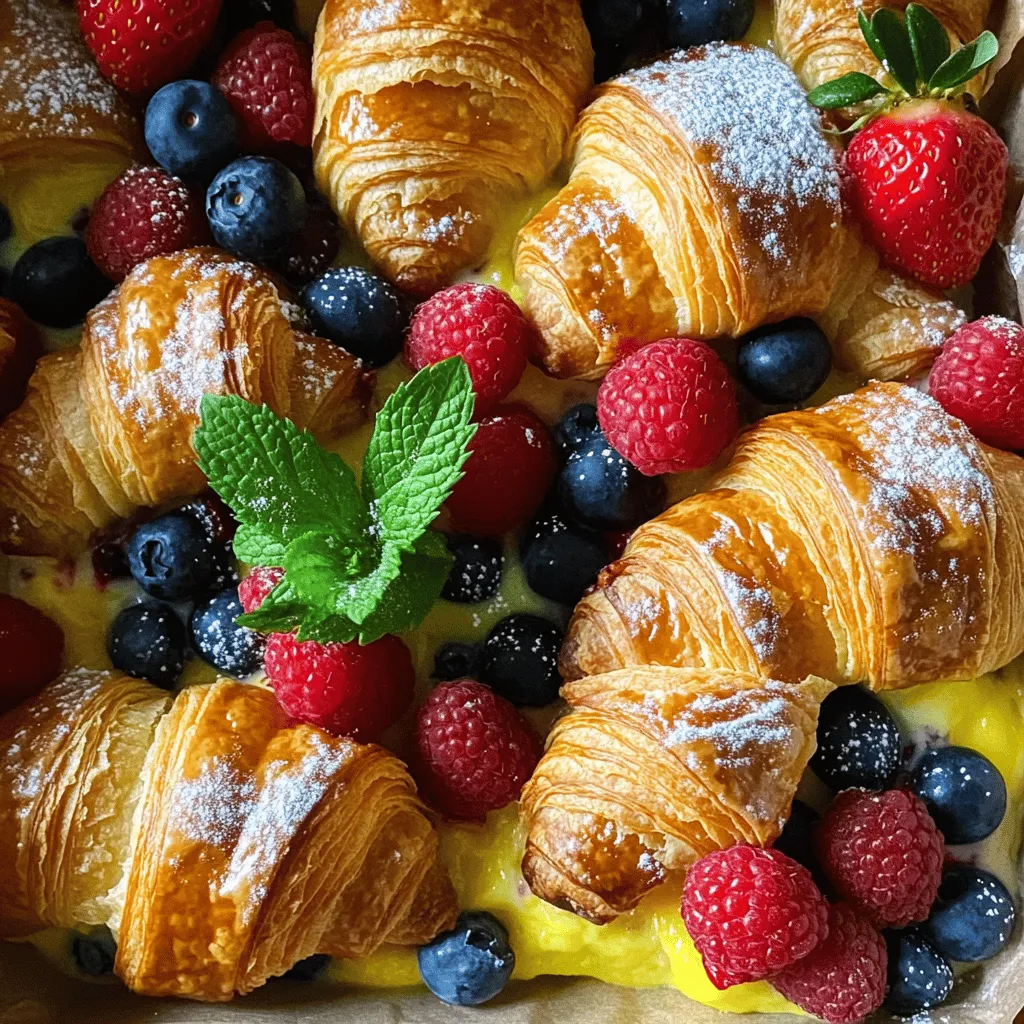
Are you ready to whip up a simple and delicious treat? Look no further than this Berry Croissant Bake! With just a handful of ingredients and easy steps, you can …
![- 1 ½ cups all-purpose flour - ½ cup granulated sugar - 2 teaspoons baking powder - ¼ teaspoon baking soda - ¼ teaspoon salt - 1 large egg - ¾ cup buttermilk (or substitute with ¾ cup milk plus 1 tablespoon lemon juice) - ⅓ cup vegetable oil - Zest of 1 lemon - 1 tablespoon freshly squeezed lemon juice - 1 cup fresh blueberries (or use frozen if fresh are unavailable) For lemon blueberry muffins, you need simple, fresh ingredients. All-purpose flour gives muffins structure. The granulated sugar adds sweetness. Baking powder and baking soda help them rise. Fresh blueberries bring flavor and color. - 1 tablespoon coarse sugar for topping - Lemon glaze or powdered sugar for serving You can choose to sprinkle coarse sugar on top for a nice crunch. A lemon glaze or a dusting of powdered sugar adds a sweet finish. These extras can elevate your muffins. - For buttermilk, you can use milk with lemon juice. - You can swap all-purpose flour for whole wheat flour or gluten-free blends. If you can't find buttermilk, mix regular milk with lemon juice. This gives a similar tang. For flour options, whole wheat adds more fiber. Gluten-free blends work too, if needed. 1. First, preheat your oven to 375°F (190°C). 2. Prepare your muffin tin by lining it with paper liners or spraying it with non-stick spray. 3. In a large bowl, mix the dry ingredients. Combine 1 ½ cups all-purpose flour, ½ cup granulated sugar, 2 teaspoons baking powder, ¼ teaspoon baking soda, and ¼ teaspoon salt. Whisk these together well. 1. In another bowl, crack one large egg and beat it lightly. 2. Add ¾ cup buttermilk, ⅓ cup vegetable oil, the zest of one lemon, and 1 tablespoon of freshly squeezed lemon juice to the egg. 3. Whisk until this mixture is smooth. 1. Pour the wet ingredients into the bowl with the dry mix. 2. Gently fold the mixtures together using a spatula. Be careful not to overmix; some lumps are fine. 3. Now, gently add 1 cup of fresh blueberries. Mix them in without crushing them. 1. Use a spoon or scoop to fill each muffin cup about ¾ full. 2. If you want a sweet crunch, sprinkle a bit of coarse sugar on top. 3. Place the muffin tin in the oven and bake for 18-22 minutes. They should turn a lovely golden brown. A toothpick should come out clean when checked. 4. After baking, let the muffins cool in the tin for 5 minutes. Then, transfer them to a wire rack to cool completely. This method gives you a fresh and flavorful snack with ease. For the full recipe, refer back to the ingredients section. - Avoiding overmixing: Mix the batter gently. Stop as soon as you see no dry flour. This keeps muffins soft and fluffy. - Ensuring even baking: Make sure your oven is preheated. Rotate the muffin tin halfway through baking for uniform heat. - Adding spices or extracts: Try adding a dash of vanilla or almond extract. A pinch of cinnamon also brings warmth. - Incorporating nuts or seeds: Toss in some walnuts or flaxseeds for crunch. They boost nutrition and add texture. - Serving suggestions: Serve these muffins warm on a pretty plate. Dust with powdered sugar for a sweet finish. - Pairing with beverages: Enjoy with coffee or tea. A glass of lemon-infused water also complements the flavors well. For the complete recipe, check out the [Full Recipe]. {{image_4}} You can easily switch up the flavor of your muffins. Try substituting blueberries with other fruits. Raspberries, strawberries, or blackberries work well. Each fruit adds its own unique taste. You can also add spices to enhance the flavor. A pinch of cinnamon or nutmeg brings warmth and depth. This small change makes your muffins feel special and fresh. If you want a lighter muffin, adjust the ingredients. Use less sugar or swap in a sugar substitute. For gluten-free muffins, replace all-purpose flour with a gluten-free blend. Almond flour or oat flour are good choices. This way, everyone can enjoy your tasty treats without worry. Consider different muffin sizes for fun. Mini muffins are great for snacks or parties. They bake faster and are easy to share. Jumbo muffins are perfect for a hearty breakfast. They hold more filling and feel more special. No matter the size, each variation offers a delightful experience. For the full recipe, check out Lemon Blueberry Bliss Muffins. To keep your lemon blueberry muffins fresh, let them cool completely on a wire rack. This prevents moisture from building up. Once cool, place them in an airtight container. You can also wrap them in plastic wrap. Store them at room temperature for up to three days. Avoid putting them in the fridge, as this can dry them out. If you want to save muffins for later, freezing is a great option. Wrap each muffin tightly in plastic wrap and then place them in a freezer bag. This helps prevent freezer burn. Muffins can stay fresh in the freezer for up to three months. When you're ready to enjoy them, simply take them out and let them thaw. To reheat, you can warm them in the oven at 350°F (175°C) for about 10 minutes. If you prefer, microwave them for about 20-30 seconds until warm. This will revive their fluffy texture. When stored properly, lemon blueberry muffins stay fresh for about three days at room temperature. In the freezer, they can last up to three months. Always check for any signs of spoilage before eating. Fresh muffins should smell great and look moist. If they seem dry or stale, it's best to toss them. Yes, you can use frozen blueberries. They work well in the batter. However, they may make the muffins slightly wetter. This can change the texture a bit. To avoid this, do not thaw them before adding to the mix. You can check if the muffins are done by using a toothpick. Insert it into the center of a muffin. If it comes out clean, the muffins are ready. The tops should also be a nice golden color. Yes, you can prepare the batter ahead of time. Keep it in the fridge for up to 2 hours. After that, the baking powder may lose its power. This can affect the rise of the muffins. To make these muffins dairy-free, use almond milk or oat milk instead of buttermilk. You can add one tablespoon of lemon juice to the milk. This helps mimic the tanginess of buttermilk. You can repurpose leftover muffins in many fun ways. Try making a bread pudding with them. You can also crumble them over yogurt or ice cream. They make a tasty topping! Lemon blueberry muffins are simple and fun to make. We covered the core ingredients like flour, sugar, and fresh blueberries. You learned great tips for mixing and baking, plus ideas for variations. Remember to store them properly for lasting freshness. In the end, these muffins are customizable and delicious. Enjoy experimenting with flavors and serving them your way. Happy baking!](https://tossedflavors.com/wp-content/uploads/2025/05/c645bd0c-3d61-4c89-8e2f-41f0c71f05db.webp)
Are you ready to elevate your snack game? Lemon Blueberry Muffins are the perfect blend of sweet and tart, making them a delightful treat for any time of day. In …

Looking for a hearty breakfast that’s simple and satisfying? The Tater Tot Breakfast Casserole is your answer! Packed with crispy tater tots, eggs, cheese, and savory sausage, this dish will …
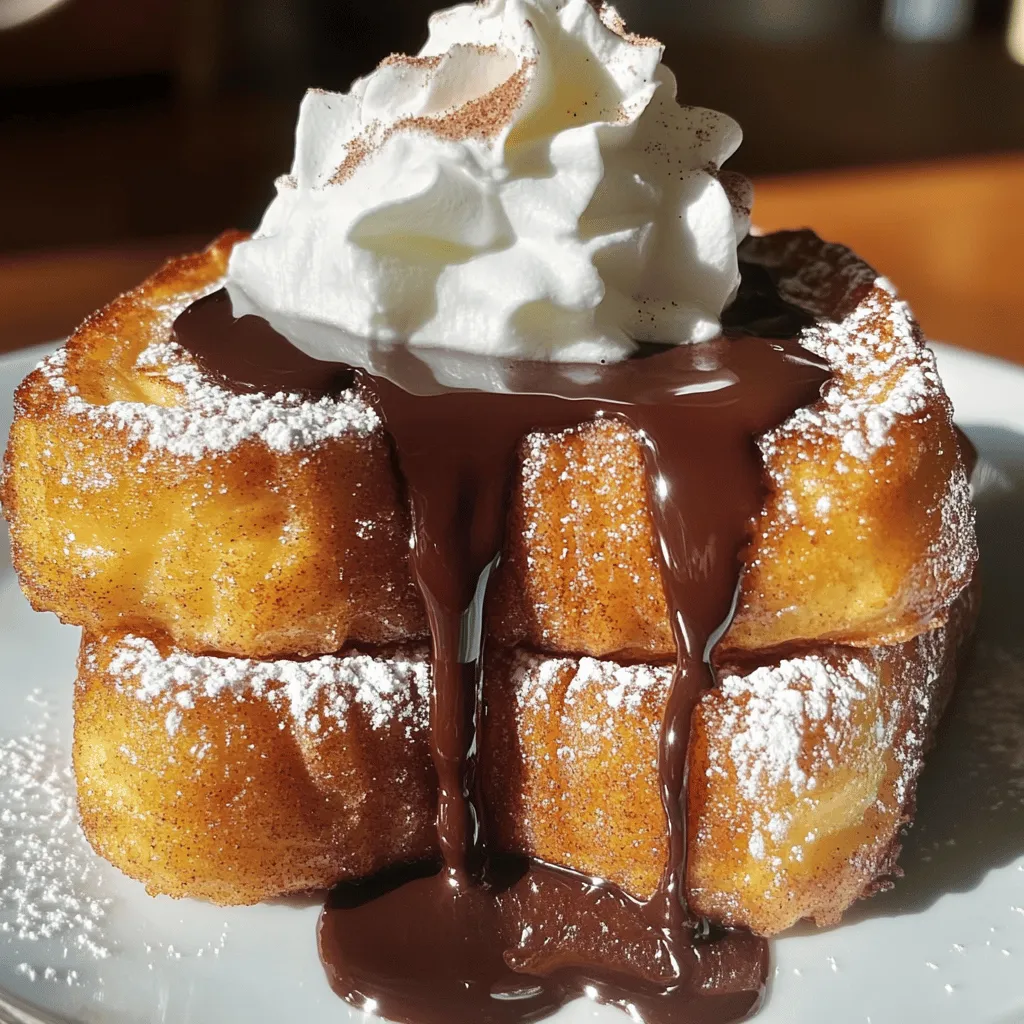
Are you ready to delight your taste buds? Churro French Toast is an easy and yummy treat that combines two favorites: churros and French toast! With just a few simple …
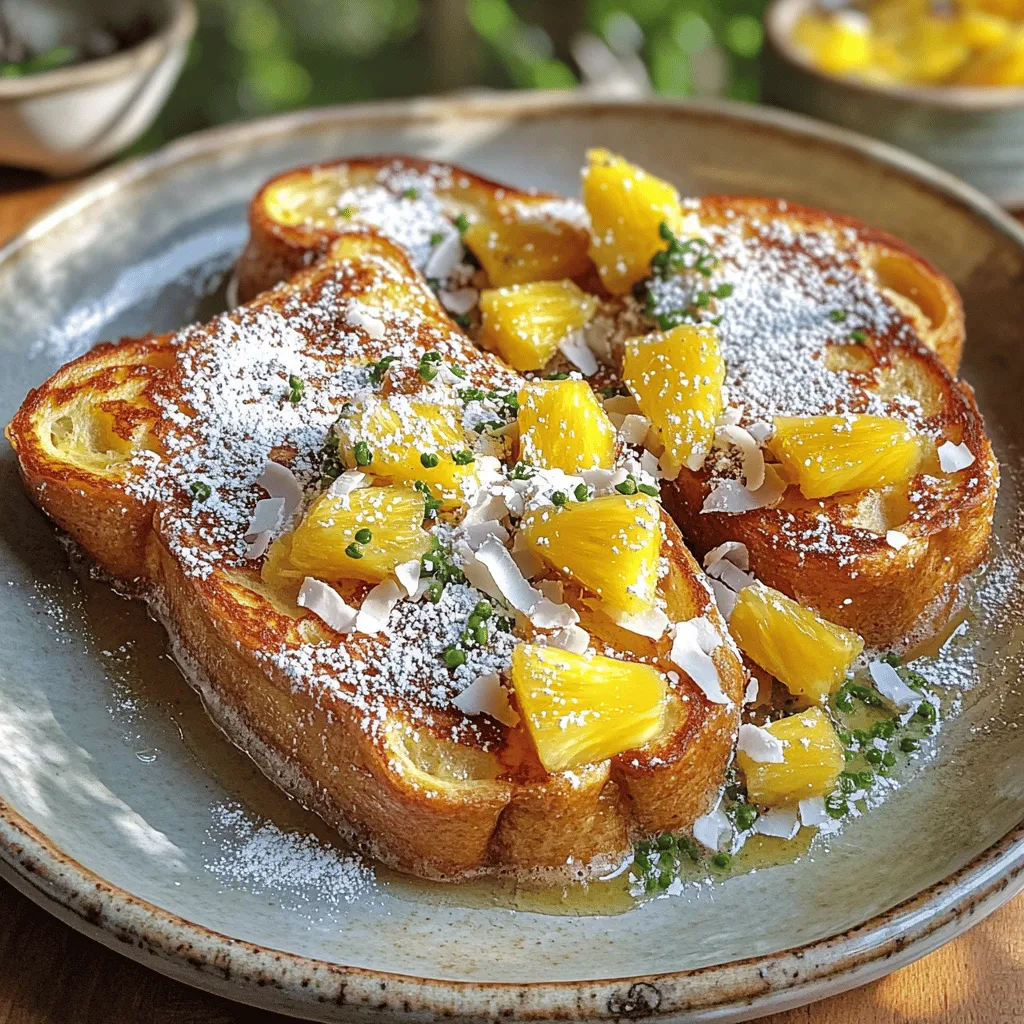
Ready to elevate your breakfast game? This Hawaiian Roll French Toast recipe combines sweetness and ease. It’s perfect for busy mornings or lazy weekends. With its soft, fluffy texture and …