Creamy Smothered Chicken and Rice Flavorful Dinner Dish
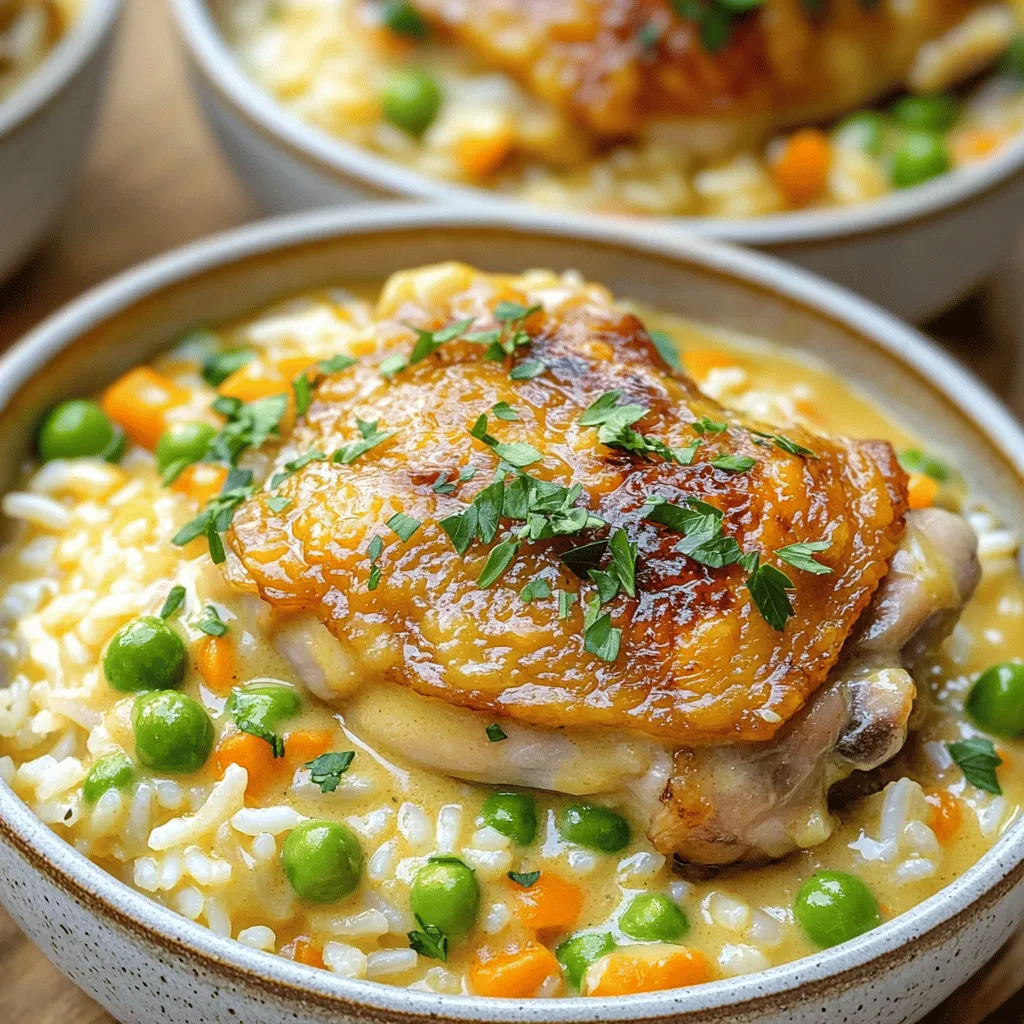
Ready for a cozy and flavorful dinner? Creamy Smothered Chicken and Rice brings comfort food to your table. With tender chicken thighs, rich cream, and savory spices simmering together, this …
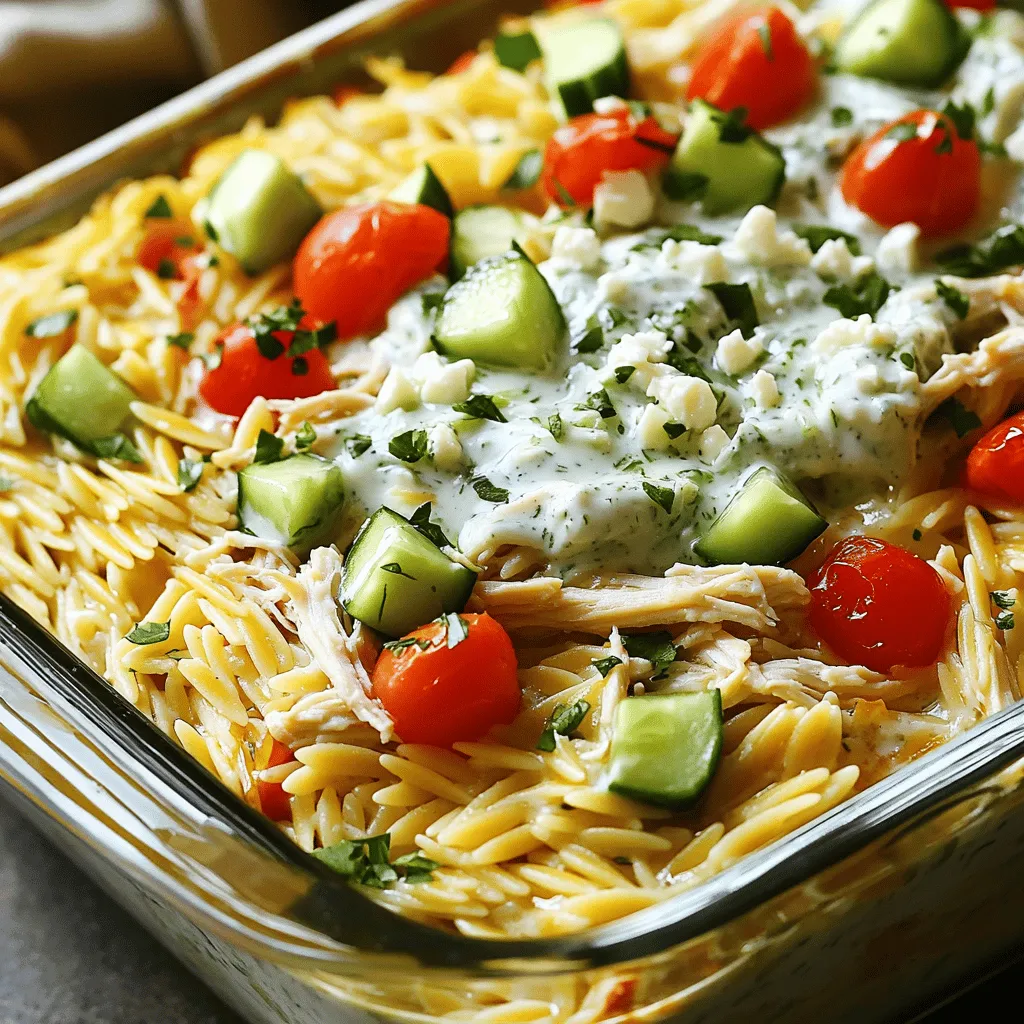
![- 1 lb ground beef - 2 cups elbow macaroni - 4 cups beef broth - 1 packet ranch dressing mix - 1 cup shredded cheddar cheese - 1 cup cherry tomatoes, halved - 1 tablespoon olive oil - 1 teaspoon garlic powder - Salt and pepper to taste - Chopped fresh parsley for garnish Gather these ingredients, and you’re ready to start cooking. The ground beef serves as a solid base, giving the dish a rich flavor. Elbow macaroni absorbs the broth well and cooks perfectly in just one pot. The ranch dressing mix adds a tangy twist that mixes beautifully with cheddar cheese. The cherry tomatoes bring a fresh burst of color and taste. Olive oil helps brown the beef and adds a nice richness. Garlic powder enhances the overall flavor, while salt and pepper ensure seasoning is just right. Finally, the fresh parsley not only looks great but adds a hint of freshness to balance the dish. Using these ingredients, you can create a delightful meal in one pot. For the complete cooking process, check out the Full Recipe. - Heat 1 tablespoon of olive oil in a large pot over medium heat. - Add 1 lb of ground beef. Break it apart with a spatula as it cooks. - Sauté the beef for about 5-7 minutes until it turns brown. - Drain any extra fat from the pot before moving on. - Sprinkle in 1 packet of ranch dressing mix and 1 teaspoon of garlic powder. - Stir well, so the beef is coated. Let it cook for 2 minutes. - Pour in 2 cups of elbow macaroni and 4 cups of beef broth. - Stir everything well to combine. Make sure the pasta is covered. - Increase the heat to bring the mixture to a boil. - Once it boils, lower the heat and cover the pot. - Let it simmer for 10-12 minutes, stirring often. - Cook until the pasta is al dente and most of the broth is absorbed. - Gently fold in 1 cup of halved cherry tomatoes and 1 cup of shredded cheddar cheese. - Stir until the cheese melts and mixes well. - Taste the dish and add salt and pepper as needed. - Remove the pot from the heat and let it rest for 5 minutes. For a full recipe, check the [Full Recipe]. Enjoy your meal! - Stir the pasta and beef mix often. This helps everything cook evenly. - If your pasta sticks, lower the heat a bit. This stops it from burning. - For a pretty plate, serve in bowls. Add a sprinkle of fresh parsley on top. - Crusty bread makes a great side. It’s perfect for scooping up that cheesy goodness! The Full Recipe offers step-by-step guidance to create this dish. {{image_4}} You can switch up the pasta type for variety. Try penne or rotini for a fun twist. If you want a lighter meal, use whole wheat or gluten-free pasta. You can also change the protein. Ground turkey or chicken works well. These swaps keep the dish fresh and exciting. Adding veggies boosts nutrition and taste. Toss in some spinach or bell peppers for color and crunch. You can also add zucchini for a mild flavor. Want more heat? Just sprinkle in some chili flakes. This simple change can make your dish pop with flavor. After cooking your One-Pot Beef and Cheddar Ranch Pasta, let it cool to room temperature. This helps prevent bacteria growth. Store the pasta in an airtight container. Make sure the lid is on tight. You can keep it in the fridge for up to 3 days. If you want to keep it longer, consider freezing it. To reheat your pasta, the best method is the stovetop. Heat a pot over low heat. Add a splash of beef broth or water to keep it moist. Stir often to ensure even heating. You can also use a microwave, but be careful. Heat in short bursts, stirring in between. This will help keep the flavor and texture just right. Enjoy your meal again without losing any taste! Can I make One-Pot Beef and Cheddar Ranch Pasta ahead of time? Yes, you can make this dish ahead of time. Just cook it and let it cool. Store it in a sealed container in the fridge. When ready to eat, reheat it on the stove or in the microwave. Is this dish kid-friendly? Absolutely! Kids love cheesy pasta. The ranch flavor is mild and tasty. You can also add veggies to make it healthier. It’s a great way to get kids to eat well. Can I freeze the leftovers? Yes, you can freeze the leftovers. Put it in an airtight container. It will keep well for about three months. Thaw it in the fridge before reheating. What can I use instead of ranch seasoning? If you don’t have ranch seasoning, you can mix dried herbs. Use a blend of dill, parsley, and garlic powder. This will give a similar flavor profile. Are there gluten-free options for pasta? Yes, you can use gluten-free pasta. There are many types available, like rice or corn pasta. Just follow the cooking time on the package for the best results. For the full recipe, check out the earlier sections. This blog post walked you through making One-Pot Beef and Cheddar Ranch Pasta. We covered key ingredients, simple steps, and helpful tips. You learned how to adjust flavors and swap ingredients to make this dish your own. Remember, you can enjoy it fresh or store leftovers with ease. I hope you find joy in every bite of this dish and share it with others. Your kitchen can be full of fun and flavor!](https://tossedflavors.com/wp-content/uploads/2025/05/8ed843fc-9ece-4c25-8c0d-1fbca03d1109.webp)
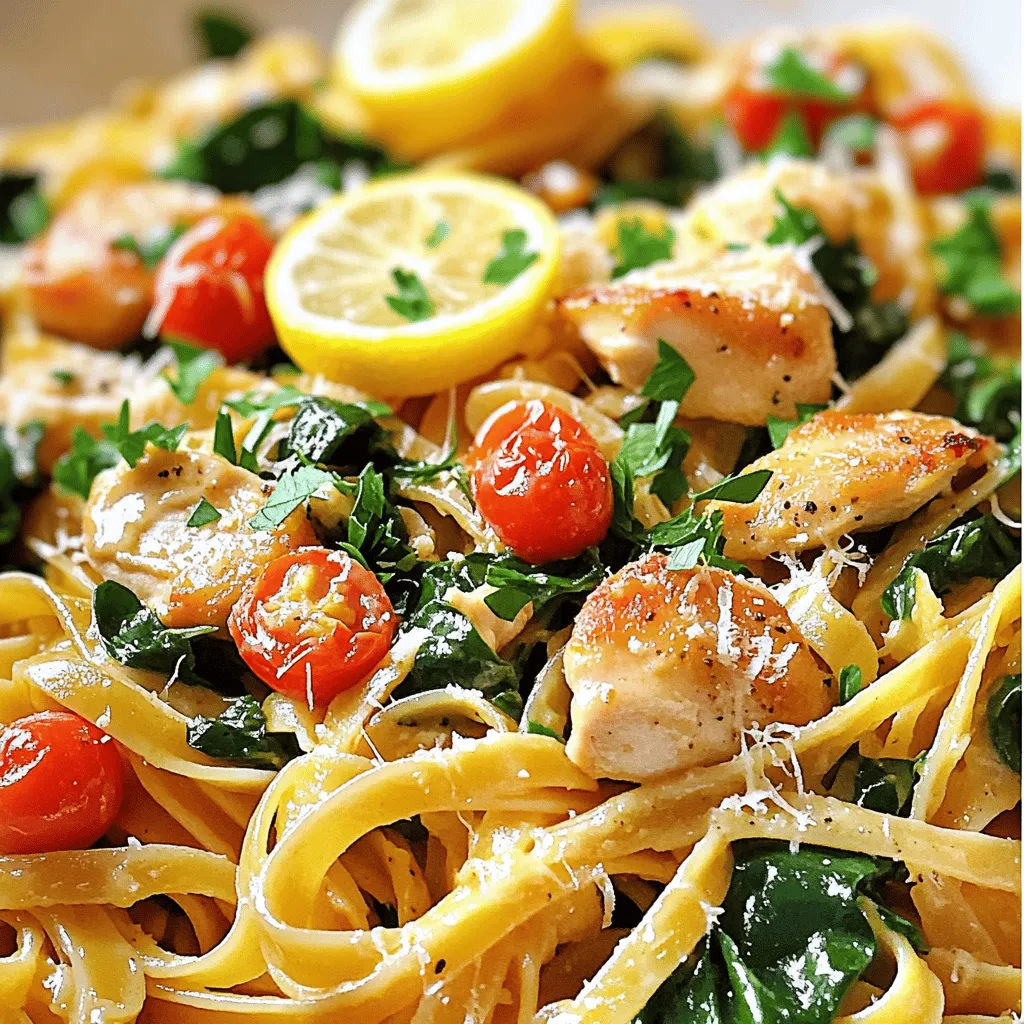
![- Chicken and Cheese Components - 2 cups cooked chicken, shredded - 1 cup shredded mozzarella cheese - 1/2 cup cream cheese, softened - Seasonings and Spices - 2 cloves garlic, finely minced - 1 tablespoon olive oil - 1 teaspoon Italian seasoning - Salt and freshly ground black pepper to taste - Tortilla Selection - 4 large flour or whole wheat tortillas - A handful of fresh spinach leaves - 1/4 cup freshly grated Parmesan cheese - Optional: Sriracha or your favorite hot sauce for a spicy twist Gathering the right ingredients makes cooking easier. The chicken and cheese are key for a creamy filling. I love using shredded chicken; it mixes well with cheese. Mozzarella gives a lovely melt, while cream cheese adds richness. Next, fresh garlic adds great taste. Olive oil helps cook the garlic without burning. Italian seasoning brings warmth and depth. Don’t forget salt and pepper for balance! For the wraps, I choose large flour tortillas. They hold the filling well and roll easily. Whole wheat is a healthy option too. Adding fresh spinach gives a nice crunch and color. The sprinkle of Parmesan on top adds a salty finish. If you like heat, Sriracha is perfect. It pairs well with the creamy filling. You can play with these ingredients to suit your taste. For the full recipe, check the detailed instructions above. Sautéing the Garlic Start by heating olive oil in a skillet over medium heat. Add minced garlic and cook for one minute. This step fills the kitchen with a lovely aroma. It also brings out the garlic's great taste. Mixing the Cheesy Ingredients In a large bowl, combine shredded chicken, mozzarella cheese, cream cheese, Italian seasoning, salt, and pepper. Use a spatula to mix everything well. You want it creamy and smooth, with no lumps. This cheesy mixture will be the star of your wraps. Assembly Process Lay your tortillas flat on a clean surface. Spoon a good amount of the chicken filling in the center of each tortilla. Be careful not to overfill. You want to ensure your wraps roll up nicely without spilling. How to Roll the Tortillas Fold the sides of each tortilla inward. Then, start rolling from the bottom. Keep it tight to hold everything inside. This method keeps your filling from falling out while cooking. Cooking Techniques for Perfect Wraps Heat a non-stick skillet over medium heat. Place your wraps seam-side down in the skillet. Cook for 2-3 minutes on each side. Look for a golden brown color. This gives your wraps a crispy texture. Flip them gently to keep your filling secure. Presentation Tips Serve the wraps on a bright plate. Add fresh spinach leaves on the side. A small dish of Sriracha can make a great dip. This makes for a beautiful and inviting meal. Pairing Ideas for Side Dishes These wraps go well with a simple salad or some crunchy veggies. You can also serve them with fries for a fun twist. Enjoy your tasty Cheesy Garlic Chicken Wraps! For the full recipe, check out the details above. - Achieving the Perfect Texture: To get the best texture, use cooked chicken. Shredded chicken blends well with the cheese. Mix the chicken with cream cheese and mozzarella. This creates a rich, creamy filling. Don't skip sautéing the garlic; it brings out great flavor. Make sure to cook it just until fragrant. - Adjusting Flavor Profiles: Season the filling well. Add salt and pepper to taste for balance. Italian seasoning gives a nice touch. If you like heat, add some Sriracha or hot sauce. You can also mix in some herbs like fresh basil or parsley for freshness. - Overfilling the Wraps: It is tempting to add a lot of filling. However, overfilling can lead to spills. Use a generous amount, but leave space at the edges. This helps with rolling and keeps the filling inside. - Cooking Temperature and Time: Cooking at too high a heat can burn the wraps. Use medium heat to get a nice golden color. Cook for 2-3 minutes on each side. Keep an eye on them to avoid burning. {{image_4}} How can I add spice to my wraps? You can use different hot sauces. Sriracha adds heat and flavor. You can also try chipotle or buffalo sauce. A few drops can change the whole dish. Do you like more heat? Adding jalapeños or chili flakes works well. Slice fresh jalapeños and place them in the wrap. For chili flakes, just sprinkle a pinch in the filling. This adds a nice kick! What proteins can I use instead of chicken? Turkey, beef, or tofu are great options. Shredded turkey gives a lighter taste. Ground beef adds a hearty flavor. Tofu is perfect for a plant-based meal. What about cheese? You can swap mozzarella for cheddar or pepper jack. Cheddar adds a sharp taste. Pepper jack gives it a spicy twist. Mix and match to find your favorite! How can I make these wraps gluten-free? Use gluten-free tortillas. Many brands offer soft options that taste great. You can also use lettuce wraps for a fresh, low-carb choice. Can I make a vegetarian or vegan version? Yes! Just skip the chicken and use beans or lentils. For cheese, use a dairy-free option like cashew cheese. These swaps keep the wraps tasty and filling. For the full recipe, check out [Full Recipe]. To keep your Cheesy Garlic Chicken Wraps fresh, follow these simple steps: - Refrigeration Tips: Place leftover wraps in an airtight container. They stay good for up to three days in the fridge. If you want to keep them longer, consider freezing them. Just be sure to cool them first. - Freezing Guidelines: Wrap each cooled wrap tightly in plastic wrap, then place them in a freezer-safe bag. They can last up to three months in the freezer. Label the bag with the date for easy tracking. When you're ready to enjoy your leftovers, reheating properly is key. - Best Methods to Retain Texture: The best way to reheat wraps is in a skillet. Heat it over medium-low heat. Place the wrap in the skillet and cover it. This method keeps the outside crisp while warming the inside. - Microwave vs. Oven: You can use a microwave for quick reheating, but this may make the wrap soggy. If you prefer the oven, preheat it to 350°F. Wrap it in foil to keep it moist, and bake for about 10 minutes. This helps maintain the wrap's texture. Remember, these wraps are best enjoyed warm, so reheating them right will make all the difference! For the full recipe, check out the details above. Can I make these wraps ahead of time? Yes, you can make these wraps ahead. Prepare the filling and store it in the fridge. Wrap the tortillas just before cooking to keep them fresh. What type of tortillas work best? I prefer large flour or whole wheat tortillas. They are soft and hold the filling well. You can also use corn tortillas for a gluten-free option. How can I make it more nutritious? Add more veggies to your wraps. Try bell peppers, zucchini, or mushrooms. You can also use low-fat cream cheese for a lighter option. Why are my wraps soggy? Soggy wraps often happen from moisture. Make sure to drain any excess liquid from the chicken. Also, avoid adding too much cream cheese. What can I do if the filling leaks during cooking? To prevent leaks, don’t overfill your wraps. Roll them tightly and make sure the seam is down in the pan. If they leak, you can still enjoy the crispy edges. Suggested Serving Sizes per Person Each wrap serves one person. For a meal, plan on two wraps per person. This gives a filling and satisfying dinner. Brief Overview of Nutritional Breakdown Each wrap has a good balance of protein and fat. It includes chicken, cheese, and spinach. This meal is great for energy and taste. For full details, check the Full Recipe. You learned how to make tasty Cheesy Garlic Chicken Wraps. We covered the essential ingredients, step-by-step instructions, and helpful tips. Consider trying different spices or ingredients to suit your taste. Don’t forget about storage and reheating methods to enjoy leftovers later. With a bit of practice, you can whip up these wraps quickly. Your kitchen will smell amazing, and your family will love the meal. Get ready to impress everyone with your cooking skills!](https://tossedflavors.com/wp-content/uploads/2025/05/106b5120-c351-4b5b-b5fe-6431f3d3a8a1.webp)