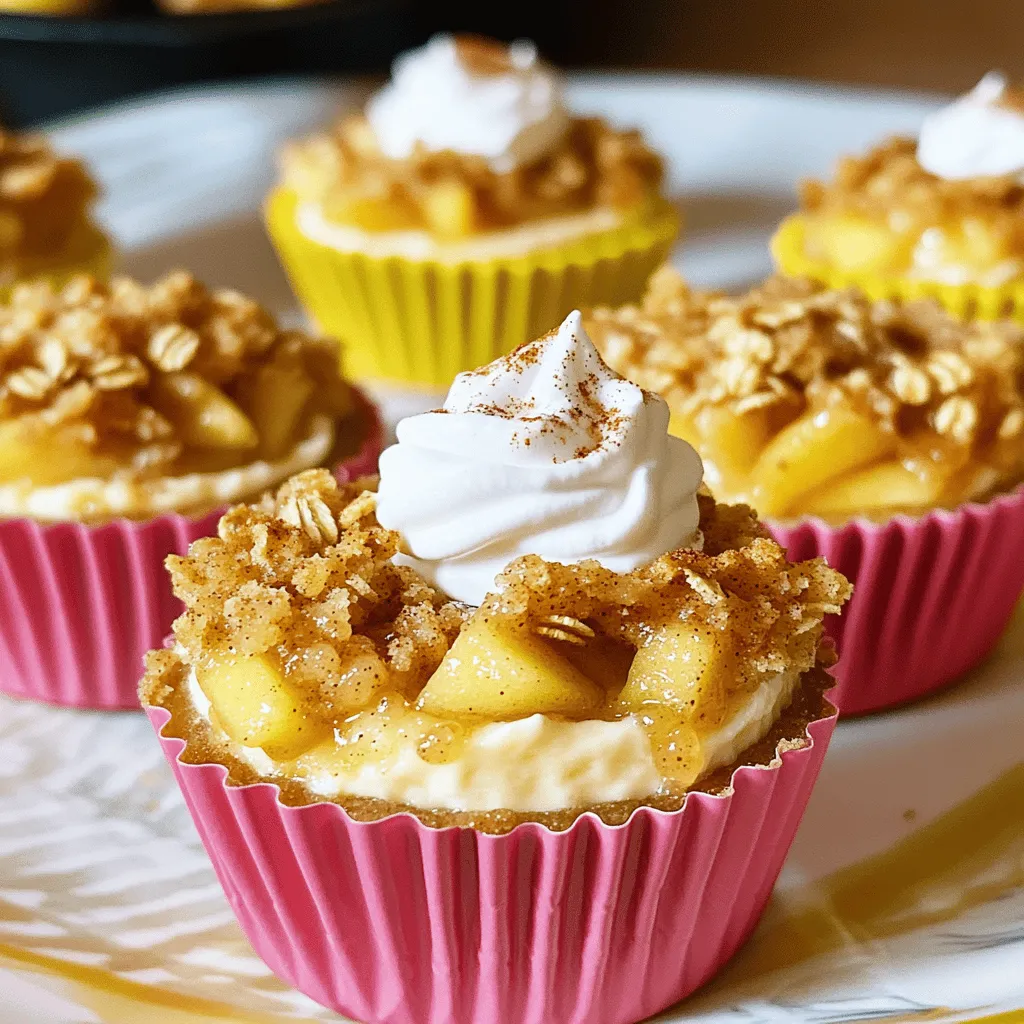
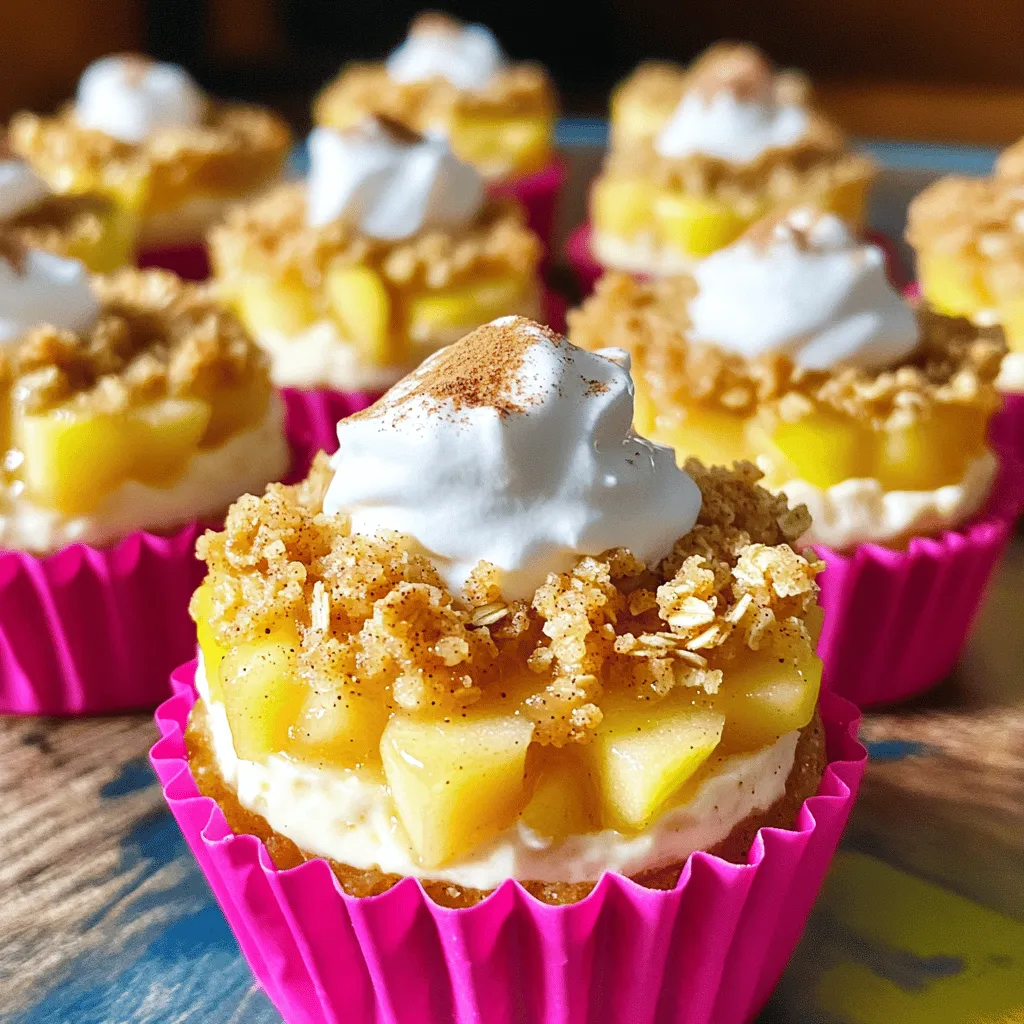
Are you ready to impress your friends and family with a delicious dessert? Look no further! These Apple Crisp Mini Cheesecakes are not only delightful but also simple to make. With creamy cheesecake, a crunchy crust, and warm apple goodness, each bite will bring joy. In just a few easy steps, you can create a sweet treat that everyone will love. Let’s dive into making this tasty dessert together!
Ingredients
To make the Apple Crisp Mini Cheesecakes, you need simple yet tasty ingredients. Here’s what you’ll gather:
– 1 cup graham cracker crumbs
– 1/4 cup unsalted butter, melted
– 2 tablespoons granulated sugar
– 8 oz cream cheese, softened to room temperature
– 1/2 cup granulated sugar
– 1 teaspoon pure vanilla extract
– 1/2 teaspoon ground cinnamon
– 1 large egg
– 1 cup apples, peeled and diced (approximately 2 small apples)
– 1/2 cup rolled oats
– 1/4 cup packed brown sugar
– 1/4 teaspoon ground nutmeg
– 1 tablespoon fresh lemon juice
These ingredients blend well to create a delicious treat. The graham cracker crumbs form a crunchy crust. The cream cheese provides a rich filling. The apples add a fresh taste and texture. You can even add optional garnishes to make your mini cheesecakes shine.
Optional Garnishes
– Fresh whipped cream
– Cinnamon dusting
– Thinly sliced apple fan
These garnishes can make your cheesecakes look even better. They also add extra flavor. For the full recipe, check the details provided earlier.
Step-by-Step Instructions
Preparation Steps
– Preheat the oven to 325°F (163°C).
– Prepare the cupcake liners in a standard muffin tin.
Making the Crust
– Combine graham cracker crumbs, melted butter, and sugar in a bowl.
– Press the mixture into the bottom of each liner and bake for 5 minutes.
Preparing the Cheesecake Filling
– Beat the cream cheese until smooth and creamy.
– Gradually add sugars, vanilla, and cinnamon; mix in the egg.
– Fold in the prepared apples, ensuring they are well mixed.
Assembling the Cheesecakes
– Fill the pre-baked crusts with the cheesecake mixture.
– Prepare the topping by mixing oats, brown sugar, and nutmeg, then sprinkle it on top.
Baking and Cooling
– Bake the mini cheesecakes for 18-20 minutes until golden.
– Cool in the muffin tin for about 10 minutes, then transfer to a wire rack.
Chilling
– Refrigerate the mini cheesecakes for at least 2 hours before serving.
For the full recipe, check out the section above!
Tips & Tricks
Ensuring Perfect Cheesecakes
To make your mini cheesecakes light, avoid overmixing the egg. Mixing too much can create a dense texture. Use a gentle hand when combining the ingredients. Also, using room temperature cream cheese helps achieve a smooth blend. Cold cream cheese can lead to lumps in the batter.
Serving Suggestions
For the best flavor, serve the cheesecakes chilled. Chilling enhances the taste and texture. Top each mini cheesecake with a dollop of whipped cream. Add a few apple slices on top for extra appeal. This not only looks nice but also adds freshness.
Quick Fixes
Need a fast option? You can substitute graham cracker crumbs with digestive biscuits. This offers a different taste while still being delicious. For more ease, you can also use store-bought apple pie filling. This saves time and still gives you that apple flavor.
Check out the Full Recipe for more detailed steps!
Variations
Flavor Variations
You can easily change the flavor of your mini cheesecakes. Add caramel sauce for a sweet twist. Drizzle it on top before serving. It gives a rich taste that pairs well with apples. You might also try using different fruits. Pears and peaches work great! They add a unique spin and keep things fresh.
Dietary Adjustments
If you want a vegan option, switch to dairy-free cream cheese. This keeps the texture smooth and creamy. You can also use alternative sweeteners instead of sugar. Options like maple syrup or stevia can work well. This way, you can enjoy a tasty dessert that meets your dietary needs.
Size Adjustments
Want a bigger treat? You can make a larger cheesecake instead of mini ones. Just use a springform pan for best results. Keep in mind that you will need to adjust the baking time. Bake it longer until the center is set. This way, you can share a larger dessert with friends or family.
Storage Info
Refrigeration
Store leftovers in an airtight container in the fridge for up to 5 days. Keeping them sealed helps maintain their flavor and texture. Before serving, take them out to let them warm up a bit. This enhances their taste.
Freezing
You can freeze mini cheesecakes for up to 3 months. Just place them in a freezer-safe container. When you want to enjoy them, thaw in the refrigerator before serving. This method preserves their creamy texture and taste.
Best Practices
Avoid topping before freezing to maintain the topping’s texture. If you add the topping first, it may become soggy when thawed. Instead, add the crunchy topping just before serving for the best flavor and texture.
FAQs
Can I make Apple Crisp Mini Cheesecakes in advance?
Yes, they can be made a day ahead; just refrigerate. This makes preparation easy for parties or gatherings. When you get the chance, whip them up a day before. Letting them chill overnight improves their taste and texture.
How can I tell when the cheesecakes are done baking?
The tops should be golden and the filling should be set. Check for a slight jiggle in the center. If the edges look firm but the center is still a bit wobbly, that’s perfect.
What’s the best way to serve Apple Crisp Mini Cheesecakes?
Chilled, topped with whipped cream and an apple garnish. This adds a nice touch and flavor. You can also dust a bit of cinnamon on top for extra flair.
Can I use a different type of apple?
Absolutely! Any variety that holds its shape will work well. Good options include Granny Smith, Honeycrisp, or Fuji apples. Each type adds its own unique flavor.
What’s the total prep and cook time for this recipe?
Prep time is 20 minutes, and total time is 1 hour and 15 minutes. This includes baking and cooling time. You can enjoy these tasty treats in no time with just a little effort.
These Apple Crisp Mini Cheesecakes are easy and fun to make. We covered the simple steps, from making the crust to perfecting the filling and toppings. Remember to chill them for the best taste. You can also try different fruits or toppings to make them your own. Enjoy these tasty treats fresh or stored in the fridge. You now have the tools to impress your friends and family with your baking skills!
