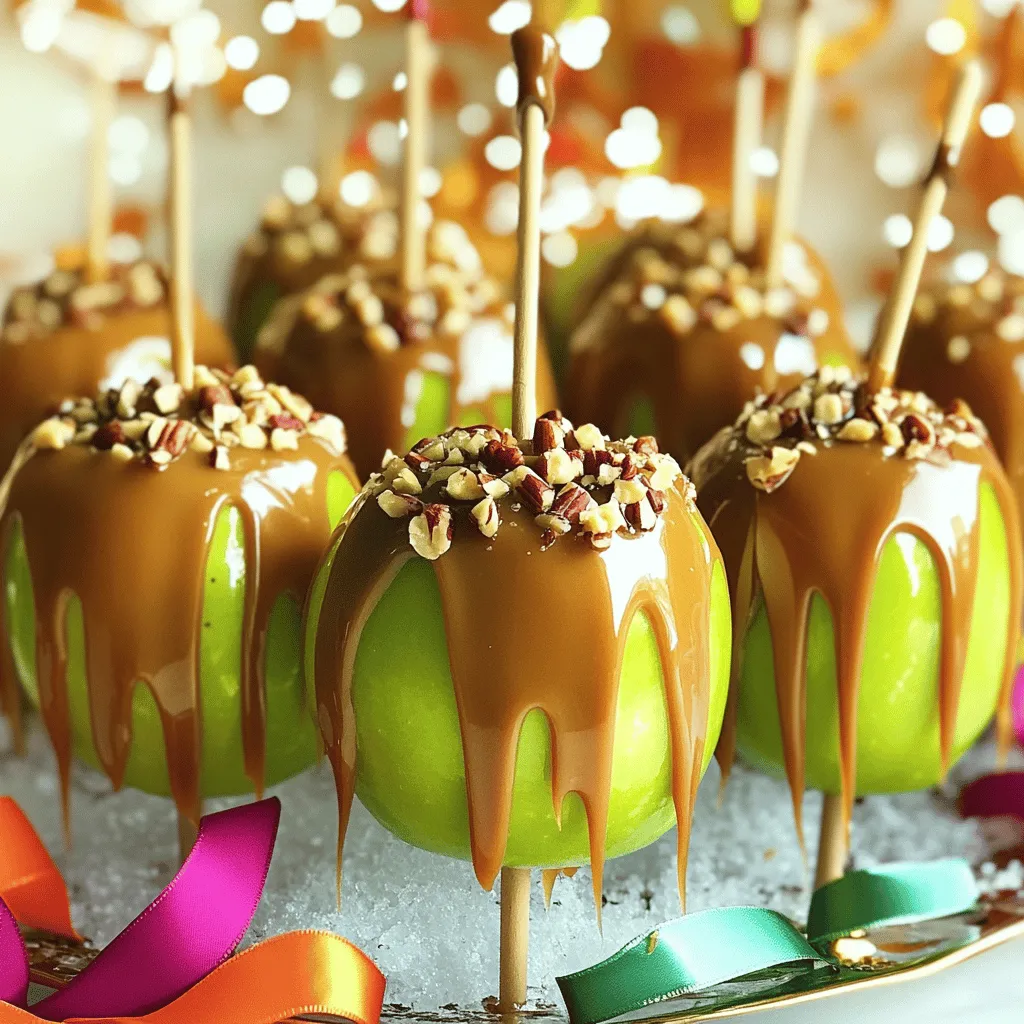
Are you ready to create something sweet and fun? DIY caramel apples are the perfect treat for fall gatherings or just a special snack. I’ll guide you through easy steps, from choosing the right apples to making the best caramel. You can even customize them with yummy toppings! Let’s dive into this delicious project and impress your friends and family with your tasty skills.
Ingredients
Essential Ingredients for Caramel Apples
To make the best caramel apples, you need a few key ingredients. Here’s what you’ll need:
– 6 medium-sized apples (Granny Smith or Fuji for tartness)
– 1 cup granulated sugar
– 1/2 cup unsalted butter
– 1/4 cup light corn syrup
– 1 teaspoon vanilla extract
– 1/2 teaspoon salt
– Lollipop sticks or wooden skewers
These ingredients help create that sweet, sticky caramel we all love. The apples provide a crisp bite that balances the rich flavor of the caramel.
Suggested Apples for Optimal Flavor
Choosing the right apples can make a big difference. I recommend using Granny Smith or Fuji apples.
– Granny Smith: These are tart and firm. They hold up well and contrast nicely with sweet caramel.
– Fuji: These apples are sweeter and juicy. They add a lovely flavor that pairs well with the caramel.
You can also try Honeycrisp for a sweeter, crunchier option.
Optional Toppings to Enhance Your Treats
Toppings can take your caramel apples to the next level. Here are some great options:
– 1 cup chopped nuts (pecans, peanuts, or walnuts)
– 1 cup chocolate chips (for drizzle, optional)
Rolling your apples in nuts adds a nice crunch. Drizzling melted chocolate over the top makes them even more special. You can get creative with toppings like sprinkles or crushed cookies too!
For the full recipe, check out the Full Recipe link.
Step-by-Step Instructions
Preparing the Apples for Dipping
Start by washing the apples. Use cool water to clean off any wax or dirt. This step helps the caramel stick better. After washing, dry them with a towel. Remove the stems to make dipping easier. Insert a lollipop stick into the top of each apple. Twist it slightly as you push to make it stable. Set these apples aside while you cook the caramel.
Cooking the Caramel to Perfection
In a medium saucepan, mix the granulated sugar, unsalted butter, light corn syrup, and salt. Place the pan over medium heat. Stir the mixture often until it begins to boil. Be careful to avoid anything sticking to the bottom. Once it boils, stop stirring. Let it cook for 4-5 minutes. Watch it change to a rich golden-brown color. If you have a candy thermometer, aim for 240°F. This is the soft-ball stage, which gives the perfect caramel texture.
Once it reaches the right color, take the pan off the heat. Slowly stir in the vanilla extract. Be careful here, as it may bubble up a lot.
Dipping and Decorating Your Caramel Apples
Now comes the fun part! Quickly dip each apple into the warm caramel. Make sure to coat the sides well. Use a spoon if you need help pushing the caramel up. Let any extra caramel drip back into the pan. If you want a crunchy touch, roll the coated apples in chopped nuts. This adds a great texture. If not, place them upright on a parchment-lined baking sheet to avoid sticking.
For a fancy touch, melt chocolate chips in a microwave-safe bowl. Heat them in 30-second bursts, stirring each time until smooth. Drizzle the melted chocolate over the caramel apples for a special flair. Let the apples sit at room temperature for about 30 minutes. This helps the caramel firm up nicely before you enjoy them.
For the complete recipe, check out the Full Recipe section.
Tips & Tricks
How to Ensure Smooth Caramel Coating
To get a smooth caramel coating, start with clean apples. Wash them well to remove wax. Dry them completely with a towel. If there’s moisture, the caramel won’t stick well. When you dip the apples, work quickly. The caramel will cool fast. Hold the apple upside down for a few seconds. This lets extra caramel drip off. If you want, use a spoon to help coat the sides evenly.
Best Practices for Apple Preparation
Choose the right apples for your caramel treat. I like using Granny Smith or Fuji apples. They add a nice tartness that pairs well with sweet caramel. Remove the stems and insert lollipop sticks firmly. This gives you a good grip for dipping. If you want, chill the apples for about 30 minutes before dipping. Cold apples help the caramel set better.
Troubleshooting Common Issues
If your caramel is too thick, it may cook too long. Make sure to stir it often until it boils. If it becomes too hard, add a splash of water or cream to soften it. For a sticky caramel, check your cooking time. Aim for a golden-brown color. If you have trouble with sticking, try using parchment paper. This helps the apples release easily after they set. For more tips, check the Full Recipe for detailed instructions.
Variations
Flavor Variations: Infusing Caramel with Extracts
You can make your caramel apples even more fun by adding flavors. Try extracts like almond, coconut, or maple. Just add a teaspoon of your choice when the caramel is hot. This small change gives a big boost to the taste. You can even mix two flavors for a unique twist.
Alternative Toppings for Different Taste Profiles
Toppings can change the whole vibe of your caramel apple. Here are some ideas:
– Crushed cookies, like Oreos, for a chocolatey crunch
– Sprinkles for a festive look
– Sea salt for a sweet and salty combo
– Dried fruits, like cranberries or apricots, for a chewy texture
– Shredded coconut for a tropical touch
Feel free to mix and match! You can create a candy bar effect by setting out a variety of toppings. Let each person build their own treat.
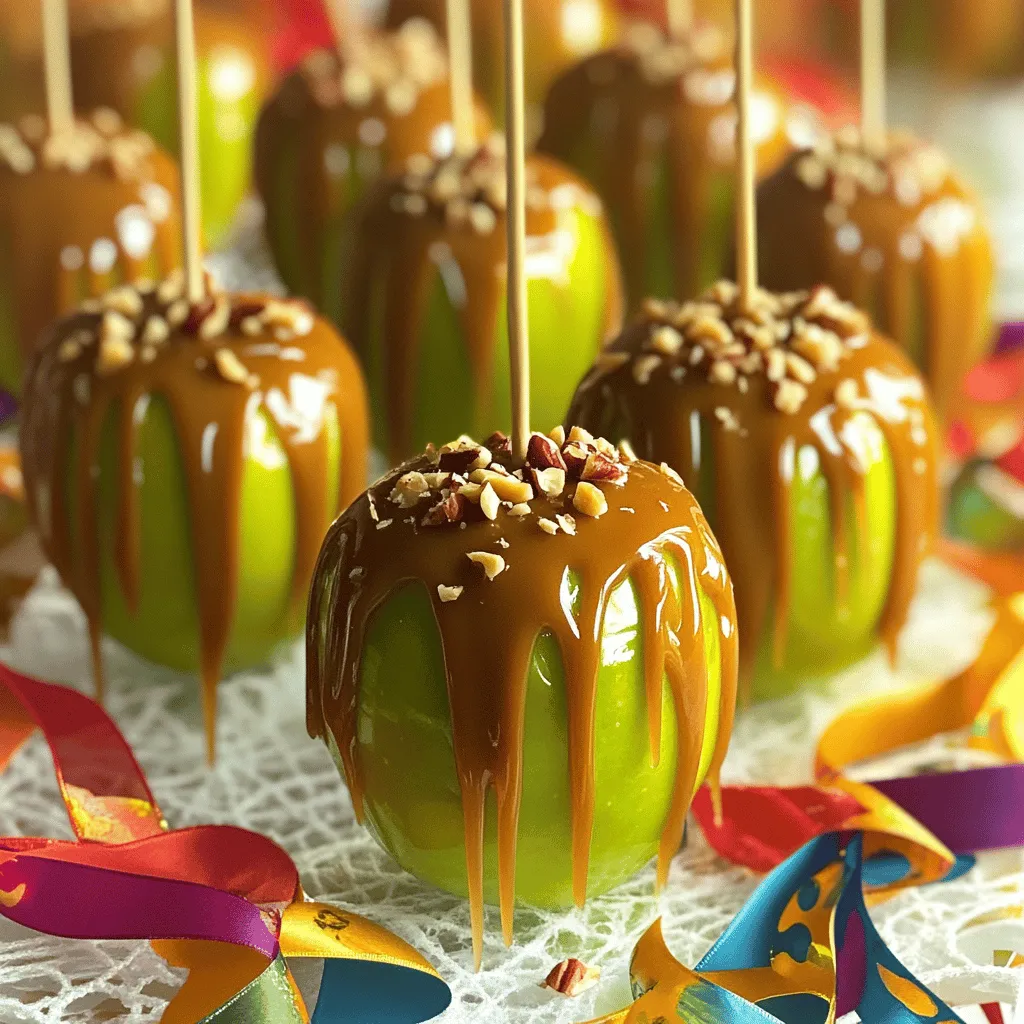
Creative Presentation Ideas for Special Occasions
Make your caramel apples the star of the show! Try these ideas:
– Use colorful paper plates for a fun look.
– Tie themed ribbons around the sticks for parties.
– Set them in a jar filled with candy corn for a pop of color.
– Create a dessert table with a themed backdrop.
When you present the apples this way, they will look as good as they taste. You can find more details in the Full Recipe. Enjoy your creative process!
Storage Info
How to Store Made Caramel Apples
To keep your caramel apples fresh, store them in a cool, dry place. Use a container that allows airflow. Avoid stacking the apples to prevent them from sticking together. You can also use wax paper to separate them. This helps keep the caramel intact. If you want to store them for a longer time, wrap each apple in plastic wrap.
Shelf Life of Homemade Caramel Apples
Homemade caramel apples last about 3 to 5 days when stored properly. If kept in the fridge, they may stay fresh longer. However, the caramel can become sticky in cold temperatures. You want to enjoy them at their best, so try to eat them within the first few days.
Tips for Reusing Leftover Caramel
If you have leftover caramel, don’t toss it! You can store it in an airtight container. Keep it in the fridge for up to a week. To reuse, gently warm it in the microwave. Stir it every 20 seconds until it reaches a pourable state. You can then drizzle it over ice cream or use it for other treats!
FAQs
Can I use store-bought caramel for this recipe?
Yes, you can use store-bought caramel. It saves time and effort. Just melt it in the microwave. Pour the melted caramel over the apples as you would with homemade caramel. This option is great for beginners or busy cooks. However, homemade caramel gives a fresh taste and better texture.
What types of apples are best for caramel apples?
The best apples for caramel apples are Granny Smith and Fuji. Granny Smith apples give a nice tart kick. Fuji apples are sweet and crisp, which balances the rich caramel. Choose firm apples to hold up better when dipped. Also, wash your apples well to remove wax before dipping.
How long does it take for caramel apples to set?
Caramel apples take about 30 minutes to set. Let them cool at room temperature. If you put them in the fridge, they will set faster. But be careful; cold can make the caramel sticky. After setting, your apples will be ready to enjoy. For a full recipe, check the details above.
You now have all the details to make great caramel apples. Remember to choose the right apples and create tasty toppings. Follow the steps to make smooth caramel and enjoy your treat. Don’t forget the fun variations to keep things fresh! Lastly, store them well so everyone can enjoy your work later. With these tips, you can impress family and friends with your homemade caramel apples!
