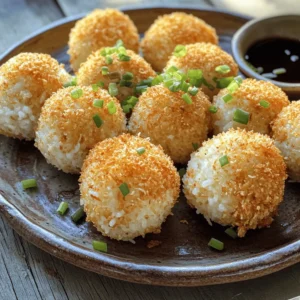
Crispy Rice Balls are a fun, easy treat that you can whip up in no time. With just a few simple ingredients, you’ll create tasty snacks that are perfect for any occasion. Whether you’re sharing them at a party or enjoying them on your own, these rice balls hit the spot. Join me as I guide you through the steps to make these golden delights that everyone will love!
Ingredients
Essential Ingredients for Crispy Rice Balls
– 2 cups cooked sushi rice
– 1/2 teaspoon salt
– 1 tablespoon rice vinegar
– 1/2 cup panko breadcrumbs
– 1/4 cup finely chopped green onions
– 1/4 cup grated Parmesan cheese
– 1 large egg, beaten
– 1/4 teaspoon garlic powder
– 1/4 teaspoon ground black pepper
– Oil for frying (vegetable or canola)
When making crispy rice balls, you need the right mix of ingredients. The sushi rice is key for its stickiness. This helps the balls hold their shape. The salt and rice vinegar add flavor and enhance the rice.
Panko breadcrumbs are light and give a great crunch. Green onions add a fresh taste, while Parmesan brings a savory richness. The egg helps bind everything together. Garlic powder and black pepper add a nice touch of spice.
Optional Ingredients for Flavor Enhancement
– Additional seasonings (e.g., sesame oil, chili flakes)
– Various dipping sauces (e.g., soy sauce, spicy mayo)
You can customize your crispy rice balls with extra flavors. Try adding sesame oil for a nutty touch or chili flakes for heat. Dipping sauces like soy sauce or spicy mayo can make each bite even better.
Nutritional Information
– Calories and nutritional content per serving
– Dietary considerations (e.g., gluten-free options)
Crispy rice balls offer a tasty treat, but be mindful of the calories. Each serving has around 120-150 calories, depending on the ingredients. For a gluten-free version, just swap the panko breadcrumbs with gluten-free options. Always check labels to ensure they meet your needs. You can find the full recipe for more precise details.
Step-by-Step Instructions
Preparation of Rice Mixture
First, combine 2 cups of cooked sushi rice, 1/2 teaspoon of salt, and 1 tablespoon of rice vinegar in a large mixing bowl. I use a spatula or my fingers to mix gently. This helps the rice absorb the vinegar. Make sure not to mash the rice, as you want it to stay sticky. After mixing, let the rice cool for a few minutes. This makes it easier to handle. Once cool, add 1/4 cup of finely chopped green onions, 1/4 cup of grated Parmesan cheese, 1/4 teaspoon of garlic powder, and 1/4 teaspoon of ground black pepper. Stir until everything is mixed well.
Shaping the Rice Balls
Next, it’s time to shape the rice balls. Wet your hands slightly to stop the rice from sticking. Take about 2 tablespoons of the rice mixture and roll it into a compact ball. This step takes practice, but you can do it! Make sure to press firmly enough to hold the shape. Repeat this process until all the rice mixture becomes balls. Aim for a uniform size for even cooking.
Breading and Frying
Now, let’s set up the breading station. In one bowl, pour in one beaten egg. In another bowl, add 1/2 cup of panko breadcrumbs. Dip each rice ball into the egg, coating it fully. Then, roll it in the panko breadcrumbs. Press lightly to make sure they stick well.
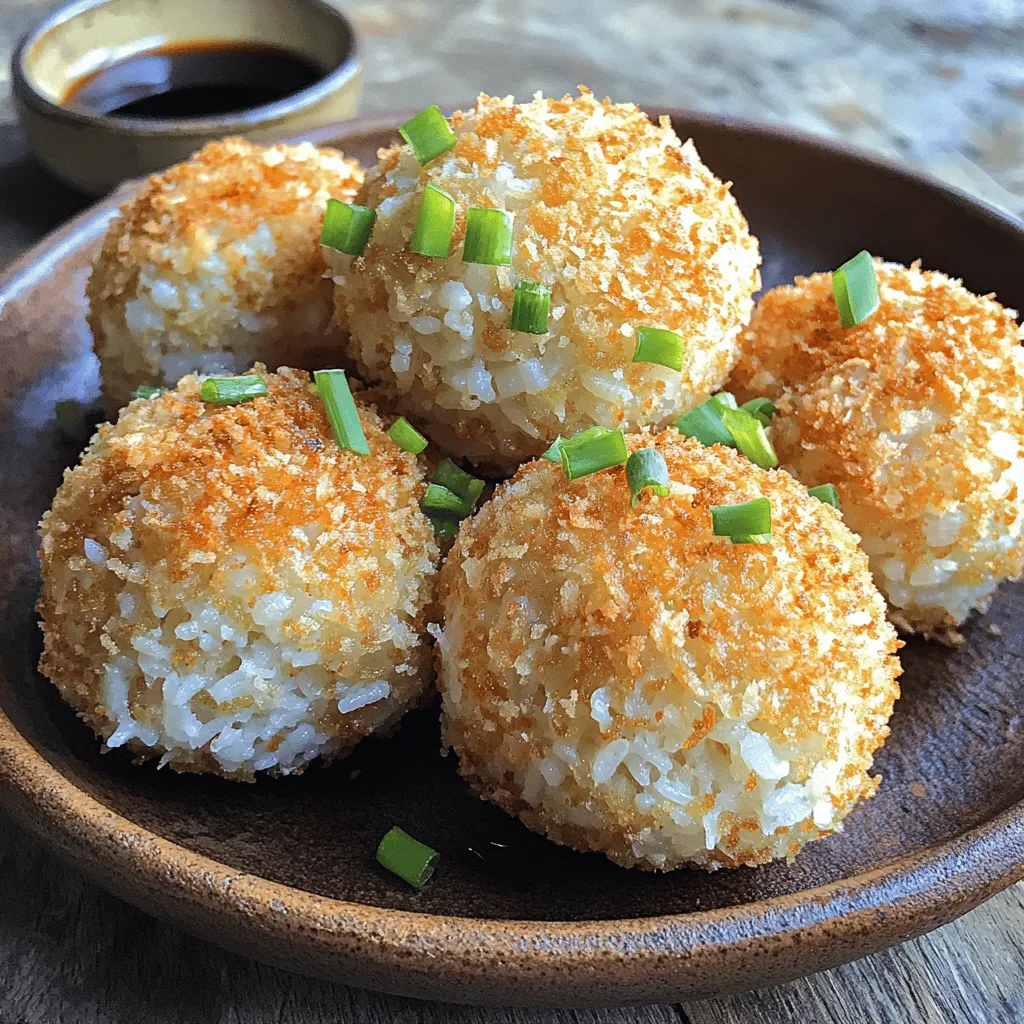
For frying, heat about 1 inch of oil in a deep pan over medium heat. You want the oil to shimmer, which means it’s around 350°F or 175°C. Carefully add the breaded rice balls in small batches. This prevents overcrowding. Fry each side for about 3-4 minutes, until they turn golden brown and crispy. Once cooked, remove them from the oil and drain them on a plate lined with paper towels. Serve warm and enjoy your crispy rice balls! For the Full Recipe, refer back to the beginning.
Tips & Tricks
Achieving Perfect Texture and Flavor
To make great crispy rice balls, rice stickiness is key. Use sushi rice, as it holds together well. After cooking, let it cool slightly before mixing in salt and rice vinegar. This helps the rice absorb flavors.
Frying temperature matters too. Heat your oil to about 350°F (175°C). If it’s too cool, your rice balls will soak up oil and turn soggy. If it’s too hot, they will burn. A good shimmer on the oil shows it’s ready.
Preventing Sticking While Shaping
Shaping rice balls can be tricky. To prevent sticking, wet your hands with water. This helps the rice slide off easily. You can also use a small amount of oil on your hands. Just a little will do the trick!
Enhancing Flavor Combinations
To make your rice balls pop, add herbs and spices. Try mixing in some chopped basil or cilantro. A dash of chili flakes can bring heat.
Dipping sauce can elevate the dish. Pair them with soy sauce, spicy mayo, or even a sweet chili sauce. Each sauce adds a new layer of flavor to your crispy rice balls.
For the full recipe, check the detailed instructions above!
Variations
Ingredient Swaps for Customization
You can change the flavors by swapping ingredients. Try different cheeses, like mozzarella or cheddar. You can also add veggies like mushrooms, peppers, or peas. This will give your rice balls new tastes. For grains, consider using quinoa or brown rice instead of sushi rice. These options add nutrition and flavor, making each batch unique.
Baked Crispy Rice Balls Option
If you want a lighter dish, bake your rice balls instead of frying them. Preheat your oven to 400°F (200°C). Place the breaded rice balls on a baking sheet lined with parchment paper. Bake for about 15-20 minutes, turning them halfway through. This method gives you a crispy outside while keeping the inside soft and tasty.
International Influences
You can also take inspiration from different cuisines. Add spices like curry for an Indian twist. Try mixing in some herbs de Provence for a French flair. Each region has its own special touch, so feel free to experiment. You might find a favorite that surprises you!
Storage Info
How to Store Leftover Crispy Rice Balls
To keep your crispy rice balls fresh, store them in the fridge. Place them in an airtight container to prevent drying out. You can also layer them with parchment paper to avoid sticking. This way, they stay tasty for up to three days.
Reheating Instructions
When it’s time to enjoy your leftovers, reheating correctly is key. Use a toaster oven or an air fryer. This helps keep them crisp. Heat them at 350°F (175°C) for about 5-7 minutes. Avoid using a microwave, as this can make them soggy.
Freezing for Future Enjoyment
If you want to save some for later, freezing is a great option. Place the cooled rice balls on a baking sheet. Freeze them for about an hour until firm. Then, transfer them to a freezer bag. They can last for up to three months.
To thaw, leave them in the fridge overnight. Reheat them in the oven or air fryer, following the same steps as before. Enjoy your crispy rice balls anytime! For the Full Recipe, check back to the ingredients and instructions.
FAQs
Can I make Crispy Rice Balls in advance?
Yes, you can prepare them ahead of time. Here are my best practices:
– Make the rice mixture. Combine the ingredients as directed in the Full Recipe.
– Shape the rice balls. Form the balls, but do not fry them yet.
– Store properly. Place the shaped rice balls on a tray. Cover them with plastic wrap and refrigerate. They can last up to 24 hours.
– Fry before serving. When ready, heat oil and fry the rice balls fresh for the best texture.
What is the best way to keep them crispy?
To maintain crispiness after cooking, follow these tips:
– Use hot oil. Fry the rice balls at the right temperature, around 350°F (175°C). This gives them a golden, crispy shell.
– Drain well. After frying, place the rice balls on paper towels. This removes excess oil and keeps them crispy.
– Serve immediately. Enjoy them fresh for the best crunch. If you need to keep them warm, use an oven set to low heat.
Are Crispy Rice Balls healthy?
Crispy rice balls have both benefits and drawbacks. Let’s break it down:
– Nutrition. They provide carbs from the rice and some protein from the egg and cheese.
– Frying concerns. They are fried, which adds extra fat and calories. However, you can reduce oil for a lighter version.
– Customization. You can add veggies for more fiber and nutrients. This can make them healthier without losing taste.
Each of these points helps you understand what makes these treats tasty and how to enjoy them in a balanced way.
In this blog post, we covered how to make crispy rice balls. You learned about essential ingredients like sushi rice, panko breadcrumbs, and Parmesan cheese. I shared step-by-step instructions for mixing, shaping, and frying. Plus, we discussed tips for texture and flavor.
Crispy rice balls are versatile, with options for seasoning and dipping sauces. Try different ingredients and methods to make them your own. Whether baked or fried, these treats are fun to make and enjoy. Keep experimenting for the best results!