Craving a sweet treat that’s both refreshing and simple to make? Mini Key Lime Cheesecakes are the answer. With their zesty lime flavor and creamy texture, they are a perfect dessert for any occasion. In this easy recipe, I’ll guide you through the steps, from the crunchy graham cracker crust to the delightful creamy filling. Let’s dive into these mouth-watering mini cheesecakes that are sure to impress your family and friends!
Ingredients
Here’s what you need to make mini key lime cheesecakes. Gather these ingredients for a delightful treat:
– 1 cup graham cracker crumbs
– 4 tablespoons unsalted butter, melted
– 2 tablespoons granulated sugar
– 16 oz cream cheese, softened
– 1 cup powdered sugar
– 1/2 cup sour cream
– 1/3 cup freshly squeezed key lime juice
– Zest of 2 key limes
– 1 teaspoon vanilla extract
– Whipped cream for topping
– Fresh key lime slices for garnish
Each ingredient plays a key role in making these cheesecakes rich and tangy. The graham cracker crumbs create a crunchy base. The cream cheese gives that creamy texture we all love. Fresh key lime juice adds a bright flavor that makes this dessert special.
Using fresh ingredients is key. Always opt for fresh key limes when possible. They enhance the taste and aroma. Don’t forget the whipped cream! It adds a lovely finish to each mini cheesecake.
For the full recipe, refer to the section above. Enjoy gathering your ingredients!
Step-by-Step Instructions
Preparation Steps
1. Start by preheating your oven to 325°F (160°C).
2. Prepare a muffin tin with paper liners. This helps keep the cheesecakes from sticking.
3. In a medium bowl, mix together the graham cracker crumbs, melted butter, and granulated sugar. Stir until it looks like damp sand.
4. Take about 1 tablespoon of this mixture and press it into the bottom of each muffin liner. Make sure it’s packed tightly.
5. Bake the crust in the oven for 5 minutes. Let it cool completely after baking.
Cheesecake Filling Steps
1. In a large bowl, beat the softened cream cheese with an electric mixer. Mix until it’s smooth and creamy.
2. Gradually add in the powdered sugar. Keep mixing until it is silky and well combined.
3. Add sour cream, key lime juice, lime zest, and vanilla extract to the cream cheese. Beat again until everything is mixed well.
4. Gently spoon the filling over the cooled crusts in the muffin tin. Fill each cup about 3/4 full.
Baking and Cooling
1. Put the muffin tin back in the oven and bake the cheesecakes for 15-18 minutes. The edges should be set, but the centers should still jiggle slightly.
2. When finished baking, turn off the oven. Leave the cheesecakes inside with the door slightly open for about 1 hour to cool down slowly.
3. After they cool, move the cheesecakes to the refrigerator. Chill for at least 4 hours or overnight for the best texture.
4. Before serving, add whipped cream on top of each mini cheesecake. Garnish with a fresh key lime slice and lime zest for a lovely touch.
For the full recipe, check the detailed instructions above!
Tips & Tricks
How to Perfect the Cheesecake Texture
To get the perfect cheesecake, start with room temperature cream cheese. Cold cream cheese makes lumps. Let it sit out for about 30 minutes before you mix it. This step helps your cheesecake become smooth and creamy.
When mixing, be gentle. Use a low speed to add air without over-mixing. Too much air can make your cheesecake puff up, then fall. Just mix until all ingredients blend well.
Serving Suggestions
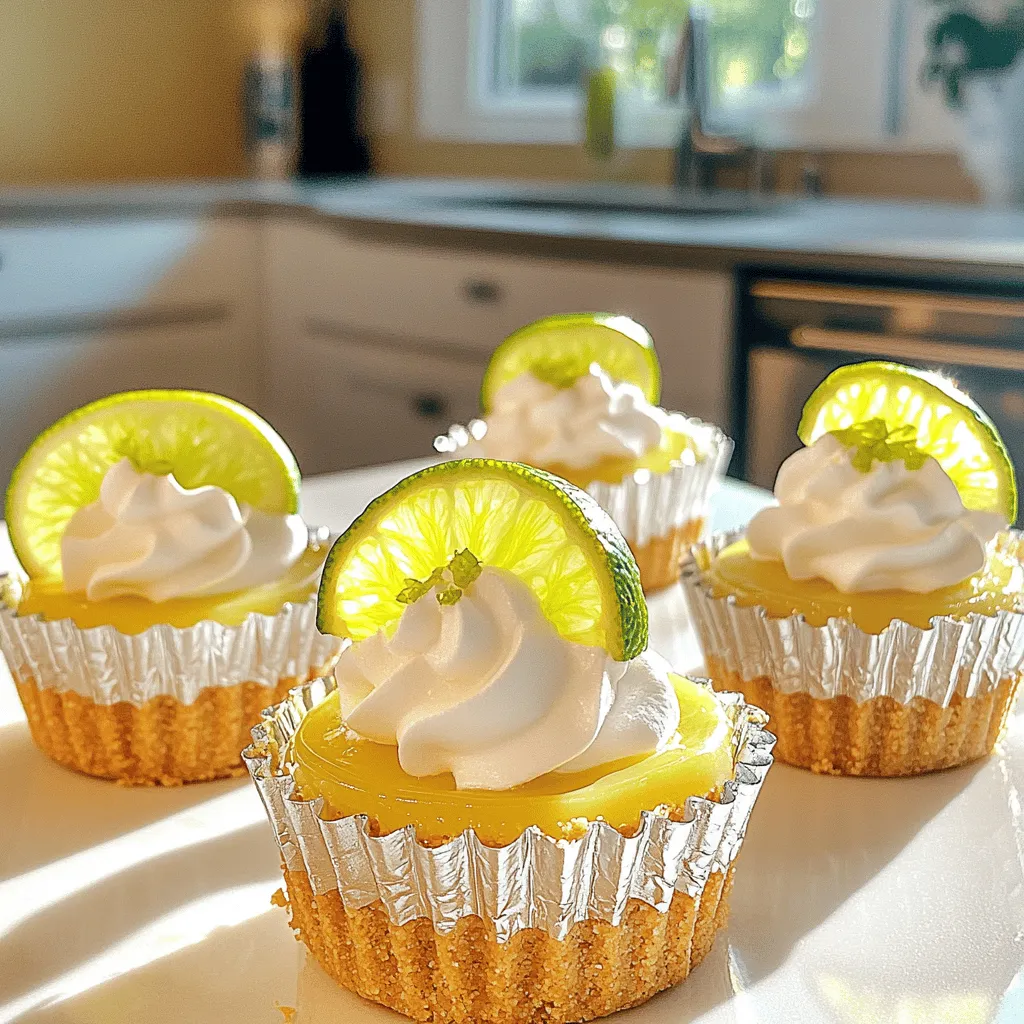
Mini key lime cheesecakes shine with simple toppings. Add a generous dollop of whipped cream on top for richness. Fresh key lime slices add color and zest. A sprinkle of lime zest gives a nice touch too.
Presenting them is also fun. Use pretty plates or colorful liners. Arrange them on a cake stand for a lovely display. Guests will love the look and taste!
Common Mistakes to Avoid
Cracks can ruin your mini cheesecakes. To avoid cracks, do not over-bake them. They should jiggle slightly in the center when done.
Chilling time is crucial. After baking, let them cool slowly in the oven. Then chill in the fridge for at least 4 hours. This waiting time helps them firm up perfectly. Follow these tips, and you’ll create delightful mini cheesecakes every time!

Variations
Flavor Variations
You can give these mini key lime cheesecakes a fun twist. Try adding different citrus zests like orange or lemon. Just a bit of zest can brighten the flavor. You can also use flavored whipped cream. For example, try coconut or strawberry. They can change the taste without losing the key lime base.
Crust Alternatives
If you need a gluten-free option, use almond flour instead of graham crackers. Simply mix it with melted butter and a pinch of sugar. You can also use cookie crumbs like Oreos or gingersnaps. They can add a unique flavor to your crust.
Toppings and Garnishes
While whipped cream is a classic topping, you can get creative. Try using yogurt or mascarpone for a creamy touch. You can also add fresh fruit, like berries or mango slices, for a sweet pop. Another option is to sprinkle crushed nuts or toasted coconut on top. These add texture and flavor, making your mini cheesecakes even more delightful.
Storage Info
How to Store Remaining Cheesecakes
To keep your mini key lime cheesecakes fresh, store them in the fridge. Place them in an airtight container. This helps seal in moisture and flavor. They will stay good for about 4 to 5 days. If you want to save them longer, consider freezing them.
To freeze mini cheesecakes, wrap each one tightly in plastic wrap. Then, place them in a freezer-safe bag. They can last in the freezer for up to 3 months. When you’re ready to enjoy, thaw them overnight in the fridge. This method keeps them safe and tasty.
How Long They Last
Mini key lime cheesecakes have a decent shelf life when stored properly. If they are in the fridge, they last about 4 to 5 days. Always check for signs of spoilage. If you see any mold, or if they smell off, it’s best to discard them.
When frozen, they can last for up to 3 months. However, I recommend consuming them sooner for the best flavor. When thawed, check for texture changes. If they feel watery or have an odd taste, it’s time to toss them. Remember, freshness is key to enjoying these delightful treats!
FAQs
Can I use regular limes instead of key limes?
Yes, you can use regular limes. They will change the taste a bit. Key limes are smaller and sweeter. They add a unique flavor that many love. If you use regular limes, the taste will be more tart. You might want to add a little more sugar to balance it.
How do I know when mini cheesecakes are done baking?
To check if they are done, look at the edges. They should be set and firm. The centers should still jiggle a little. This jiggle is normal. They will continue to cook a bit as they cool. If the edges are cracked, they may be overbaked.
Can I make these cheesecakes ahead of time?
Yes, making them ahead is a great idea. You can chill them in the fridge overnight. This helps the flavors blend well. It also gives them the right texture. Just cover them well to keep them fresh.
What is the best way to remove mini cheesecakes from the muffin tin?
Let them cool completely first. Then, use a small knife to gently loosen the edges. Carefully lift them out with a spoon. If they stick a bit, you can warm the tin slightly. This can help release them without damage.
Where can I buy pre-made mini key lime cheesecakes?
You can find them at many bakeries or grocery stores. Look in the frozen dessert section too. Some specialty stores may carry them fresh. Check online for local bakeries that offer delivery. If you want to try a homemade version, follow the Full Recipe!
This blog post covered a simple and tasty mini key lime cheesecake recipe. You learned about the ingredients, preparation steps, and baking process. I shared tips for the best texture and common mistakes to avoid. You can also explore variations and storage options.
In the end, these mini cheesecakes are fun to make and delicious to enjoy. With a little effort, you can impress friends and family with your baking skills. Enjoy these treats and share them with others!
