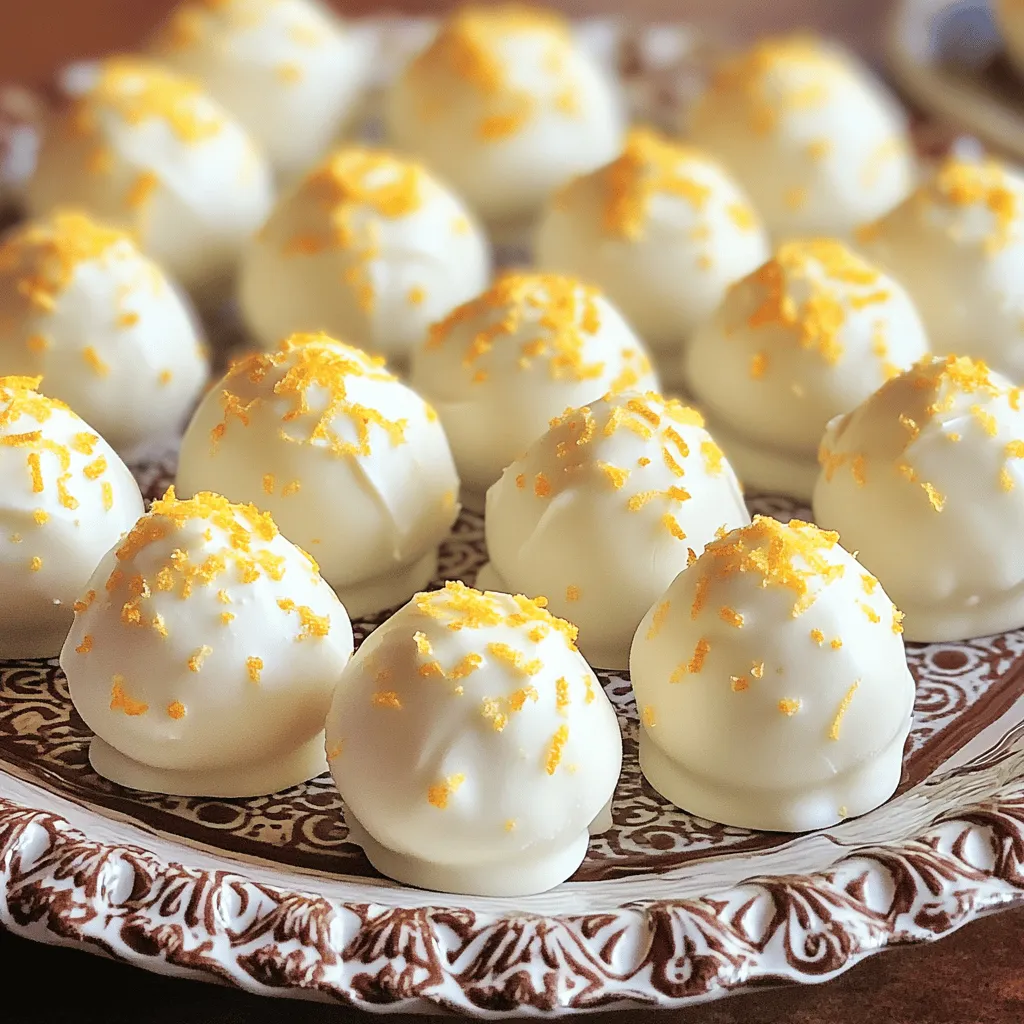
Are you ready to whip up a sweet treat that’s easy and fun? These No Bake Orange Creamsicle Truffles combine the bright flavors of orange with creamy goodness, all without needing an oven. With simple ingredients like vanilla Oreo cookies and cream cheese, you’ll have a delightful dessert in no time. Let’s dive in and discover how to make these tasty truffles that are perfect for parties or just a fun snack!
Ingredients
List of Essential Ingredients
– 1 cup vanilla Oreo cookies, finely crushed
– ½ cup cream cheese, softened to room temperature
– 1 tablespoon freshly grated orange zest
– 2 tablespoons freshly squeezed orange juice
– 1 teaspoon pure vanilla extract
– 1 cup white chocolate chips
– 1 tablespoon coconut oil
– Optional: additional orange zest for garnish
To make these no bake orange creamsicle truffles, gather your ingredients first. Start with vanilla Oreo cookies. They give a great base flavor. You will also need cream cheese. This helps make the truffles rich and creamy.
Next, get some fresh orange zest. It adds a bright taste. Fresh orange juice is also key for that refreshing citrus flavor. Pure vanilla extract rounds out the mix nicely.
Don’t forget the white chocolate chips. They provide a sweet, smooth coating. Use coconut oil to help melt the chocolate and keep it shiny.
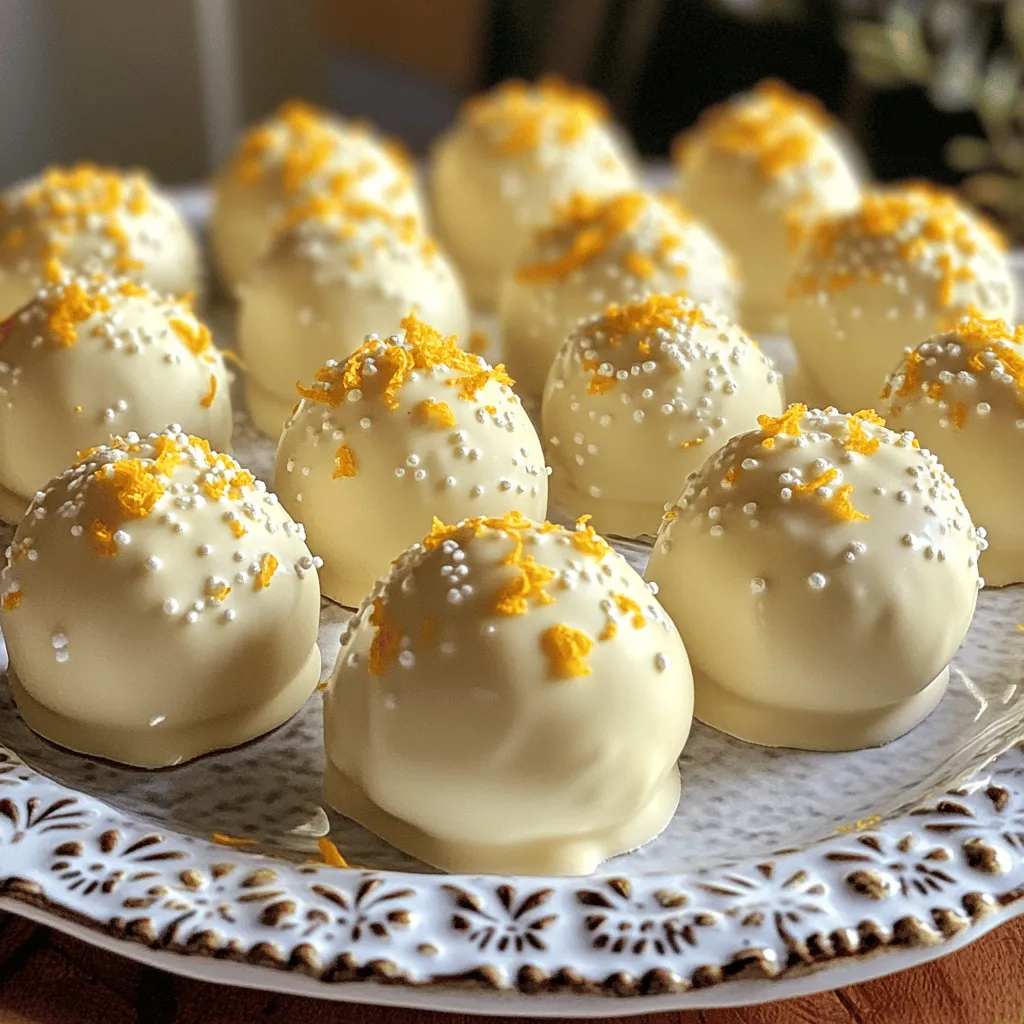
If you want, add extra orange zest on top for a fun garnish. This recipe is simple and lets you enjoy the flavors of summer anytime. For the complete details, check the Full Recipe.
Step-by-Step Instructions
Mixing the Base
First, grab a large mixing bowl. Combine 1 cup of finely crushed vanilla Oreo cookies with ½ cup of softened cream cheese. Mix until it becomes smooth and creamy. Make sure there are no lumps left. Next, add 1 tablespoon of freshly grated orange zest, 2 tablespoons of freshly squeezed orange juice, and 1 teaspoon of pure vanilla extract. Stir well until everything blends together nicely. The mix should now have a bright orange flavor and a creamy texture.
Rolling the Truffles
Cover the bowl with plastic wrap. Place it in the fridge for about 15 minutes. Chilling the mixture helps it firm up, making it easier to handle. After chilling, take the bowl out and use your hands to roll the mixture into small balls. Aim for about 1 inch in diameter for each truffle. Place them on a baking sheet lined with parchment paper. Once you have shaped all the truffles, pop them back into the fridge for another 30 minutes to set up firm.
Coating the Truffles
Now it’s time to coat your truffles. Melt 1 cup of white chocolate chips with 1 tablespoon of coconut oil. Use a microwave-safe bowl for this. Heat in 30-second intervals, stirring well between each session. Continue until the chocolate is smooth and glossy. Remove the chilled truffles from the fridge. Dip each one into the melted chocolate, making sure it’s fully covered. Let any extra chocolate drip off before placing them back on the parchment paper. If you like, sprinkle some extra orange zest on top as a garnish right away. Once all the truffles are coated, return them to the fridge for at least 30 minutes. This will help the chocolate harden and keep everything together.
For the full recipe, check out the details provided above.
Tips & Tricks
Ensuring Smooth Chocolate Coating
To get a smooth chocolate coating, you must melt the chocolate well. Use a microwave-safe bowl. Heat the white chocolate chips and coconut oil in short bursts of 30 seconds. Stir after each burst. This helps avoid burning and keeps the chocolate glossy. If you see clumps in the chocolate, it may have overheated. Add a small splash of coconut oil and stir to fix it.
Perfecting Texture
The cream cheese is key for a creamy texture. If you want it creamier, use more cream cheese. Just make sure it is softened for easy mixing. Chilling times also matter. After mixing, chill the truffle base for about 15 minutes. This helps it firm up and makes rolling easier. After shaping the truffles, chill them again for 30 minutes before coating. This ensures they hold their shape when dipped in chocolate.
Variations
Flavor Variations
You can make these truffles even more fun by changing the flavors. Try adding different citrus zests. Lemon or lime zest gives a fresh twist. You can mix in a little grapefruit zest for a tangy note. Each zest brings a new taste to your truffles.
You can also incorporate various flavor extracts. Swap vanilla extract for orange or almond extract. This simple change makes your truffles unique. Just remember to keep the amounts small. A little goes a long way in flavor.
Coating Alternatives
The chocolate coating is where you can get creative. While white chocolate is great, you can use dark or milk chocolate instead. Each type gives a different taste and look. Dark chocolate adds a rich, bold flavor, while milk chocolate offers a sweeter option.
Sprinkles or chopped nuts are great for extra texture. You can roll the truffles in colorful sprinkles for a fun look. Chopped nuts, like almonds or walnuts, add crunch and flavor. Experiment with your favorite toppings to make the truffles your own.
For the full recipe, check the link above!
Storage Info
Best Ways to Store Truffles
To keep your truffles fresh, store them in the fridge. Place them in an airtight container. This helps maintain their creamy texture. Try to keep them away from strong-smelling foods.
If you want to store the truffles for a longer time, freezing works well too. To freeze, put the truffles in a single layer on a baking sheet. Once frozen, transfer them to a freezer-safe bag. When you’re ready to enjoy them, thaw the truffles in the fridge overnight. This keeps them from getting soggy.
Shelf Life
For the best quality, enjoy your truffles within a week when stored in the fridge. If you freeze them, they can last for two to three months.
Watch for signs of spoilage. If the truffles look dry or have an off smell, it’s best to toss them. Always trust your senses to ensure your treats stay tasty!
FAQs
Can I use low-fat cream cheese?
Yes, you can use low-fat cream cheese. It may change the flavor and texture. You might find the truffles a bit less creamy. The taste may also be slightly tangier. For best results, stick with full-fat cream cheese.
How long do these truffles need to chill after coating?
After coating, chill the truffles for at least 30 minutes. This helps the chocolate harden well. If you want a firmer texture, chill them longer. The longer they chill, the better they set.
Can I make these ahead of time?
You can make these truffles ahead of time. They store well in the fridge for up to one week. Just place them in an airtight container. For longer storage, freeze them for up to three months.
What can I substitute for coconut oil?
You can use butter instead of coconut oil. It will change the taste a bit. You can also try vegetable oil, but it may not set as firm. Coconut oil helps give a nice finish to the truffles.
How do I ensure my truffles are uniform in size?
To keep truffles uniform, use a small cookie scoop. This helps measure each truffle the same. You can also roll them between your palms gently. Practice makes perfect with the shaping process.
These truffles combine simple ingredients to create a tasty treat. Start with Vanilla Oreo cookies, cream cheese, and fresh orange juice to mix a creamy base. Chill, shape, and coat your truffles with white chocolate for a delicious finish. You can change flavors or coatings for some fun twists. Remember to store them right for freshness.
Making these truffles is an enjoyable process, and I hope you try making them yourself!
