WANT TO SAVE THIS RECIPE?
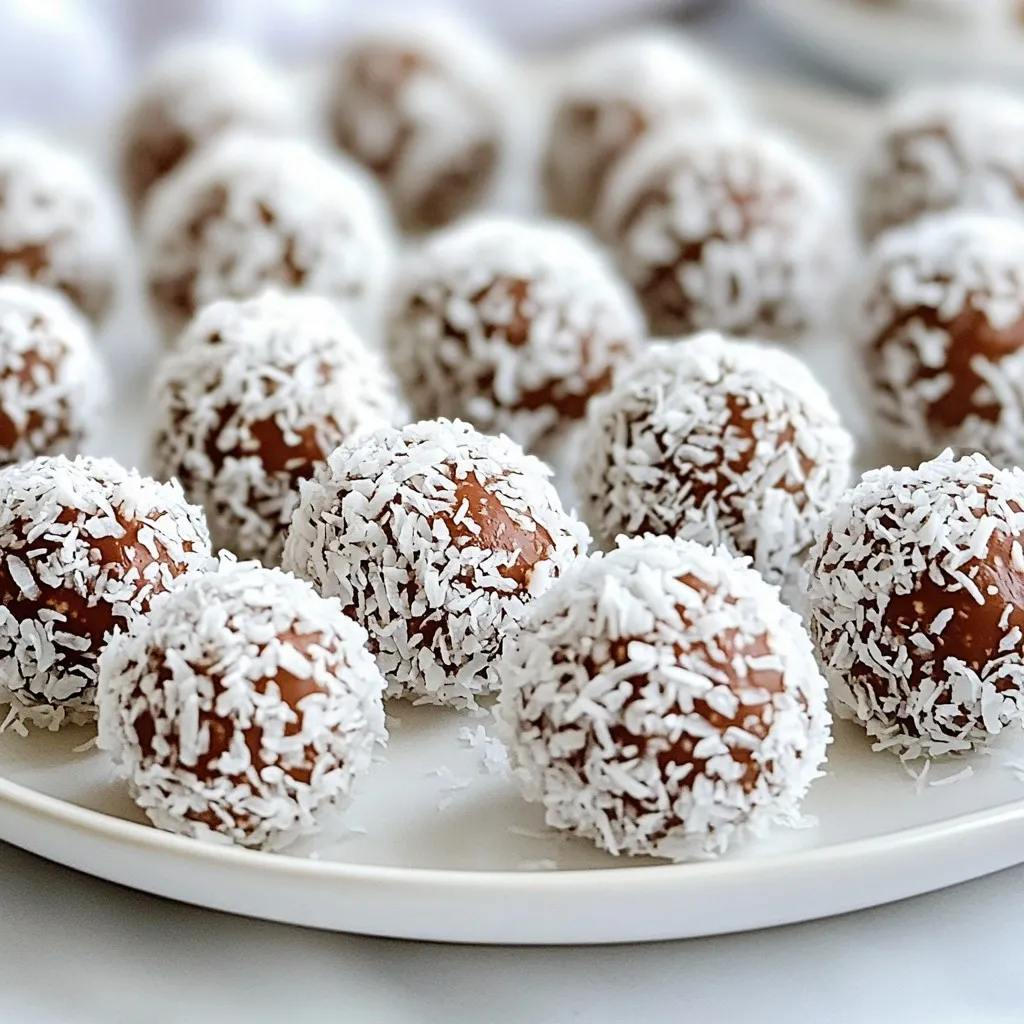
Ready to indulge in a sweet and creamy delight? These Chocolate Coconut Snowball Truffles are the perfect treat for any occasion. With just a few simple ingredients, you can create rich, flavorful bites that melt in your mouth. Whether you want to impress guests or treat yourself, I’ll guide you through each step to make these truffles a success. Let’s dive into the delicious world of chocolate and coconut!
Why I Love This Recipe
- Easy to Make: This recipe is straightforward, requiring minimal ingredients and steps, perfect for beginners and busy cooks alike.
- Delicious Flavor: The combination of chocolate and coconut creates a rich and indulgent treat that satisfies sweet cravings.
- Great for Sharing: These truffles are perfect for parties or gatherings, making them a delightful snack to share with friends and family.
- Customizable: You can easily modify the recipe by adding nuts, dried fruits, or different flavors to suit your taste preferences.
Ingredients
Main Ingredients for Chocolate Coconut Snowball Truffles
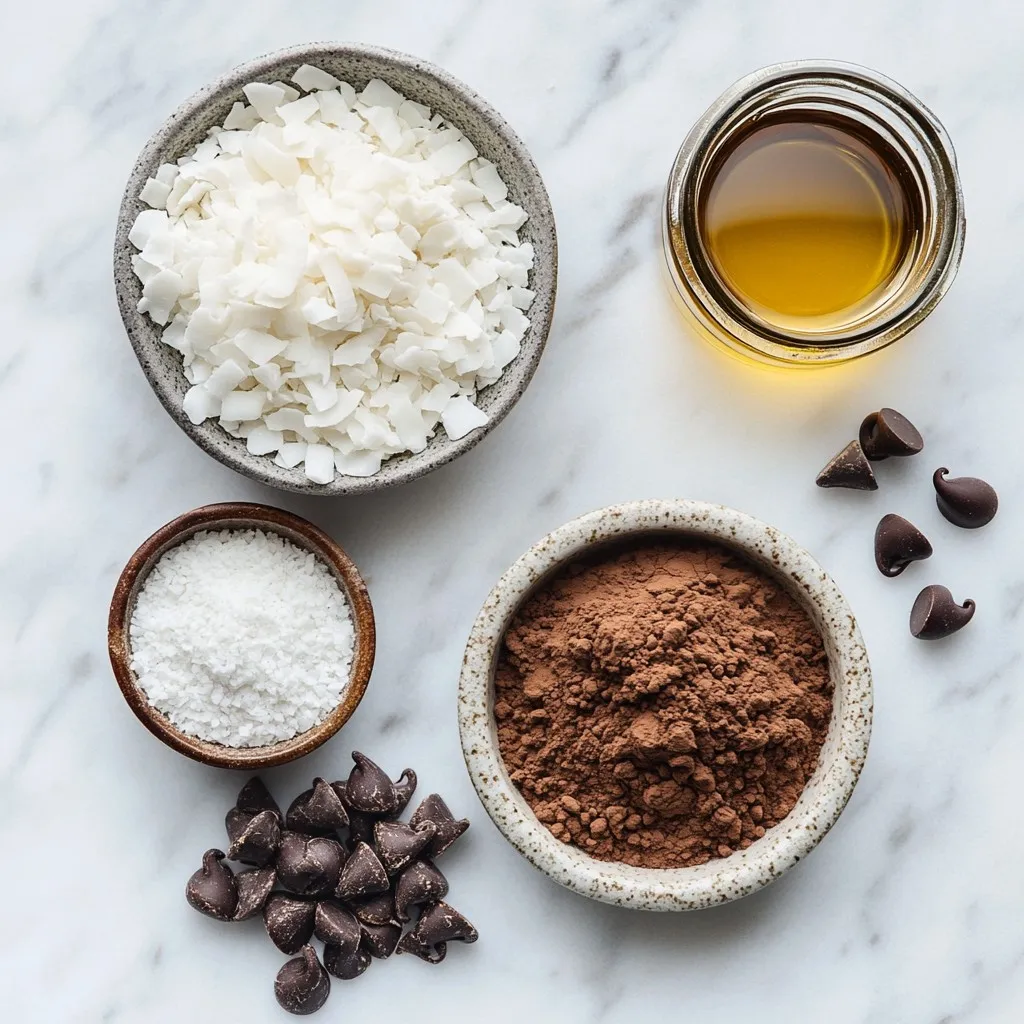
To make these tasty treats, gather these important ingredients:
– 1 cup desiccated coconut (plus extra for coating)
– 1/2 cup almond flour
– 1/2 cup unsweetened cocoa powder
– 1/4 cup maple syrup
– 2 tablespoons coconut oil, melted
– 1 teaspoon vanilla extract
– A pinch of salt
– 1/2 cup dark chocolate chips (dairy-free if needed)
These ingredients work together to create a rich and sweet flavor. The coconut adds a tropical twist, while the cocoa gives a deep chocolate taste.
Optional Ingredients for Customization
You can add a personal touch with these optional ingredients:
– Chopped nuts for crunch
– A dash of cinnamon for warmth
– Dried fruit for extra sweetness
Feel free to mix in any of these options. They can change the taste and texture of your truffles.
Ingredients Substitutions
If you need to swap out some ingredients, here are a few ideas:
– Use shredded coconut instead of desiccated coconut for a different texture.
– Swap almond flour with oat flour if you have nut allergies.
– Use honey instead of maple syrup for a different sweet flavor.
These substitutions help you adapt the recipe to your needs. Whether it’s for allergies or just personal preference, you can still enjoy these truffles!
Step-by-Step Instructions
Preparing the Truffle Mixture
To start, grab a mixing bowl. Add 1 cup of desiccated coconut, 1/2 cup of almond flour, and 1/2 cup of unsweetened cocoa powder to the bowl. Next, pour in 1/4 cup of maple syrup. Add 2 tablespoons of melted coconut oil, 1 teaspoon of vanilla extract, and a pinch of salt. Mix everything well until it forms a sticky dough. This dough will be the base of our truffles. Make sure it sticks together nicely.
Shaping the Truffles
With your hands, scoop small portions of the dough. Roll each portion into a ball, about 1 inch wide. Place these balls on a baking sheet lined with parchment paper. You should end up with twelve truffles. Once you shape all the truffles, pop the baking sheet into the freezer. Let them chill for 15 to 20 minutes. This makes them firm and easier to coat.
Melting and Coating with Chocolate
While the truffles chill, melt 1/2 cup of dark chocolate chips in a microwave-safe bowl. Heat it in 30-second intervals, stirring in between. This keeps the chocolate from burning. Once melted and smooth, take the truffles from the freezer. Dip each one into the melted chocolate. Use a fork to lift them out, letting any extra chocolate drip off.
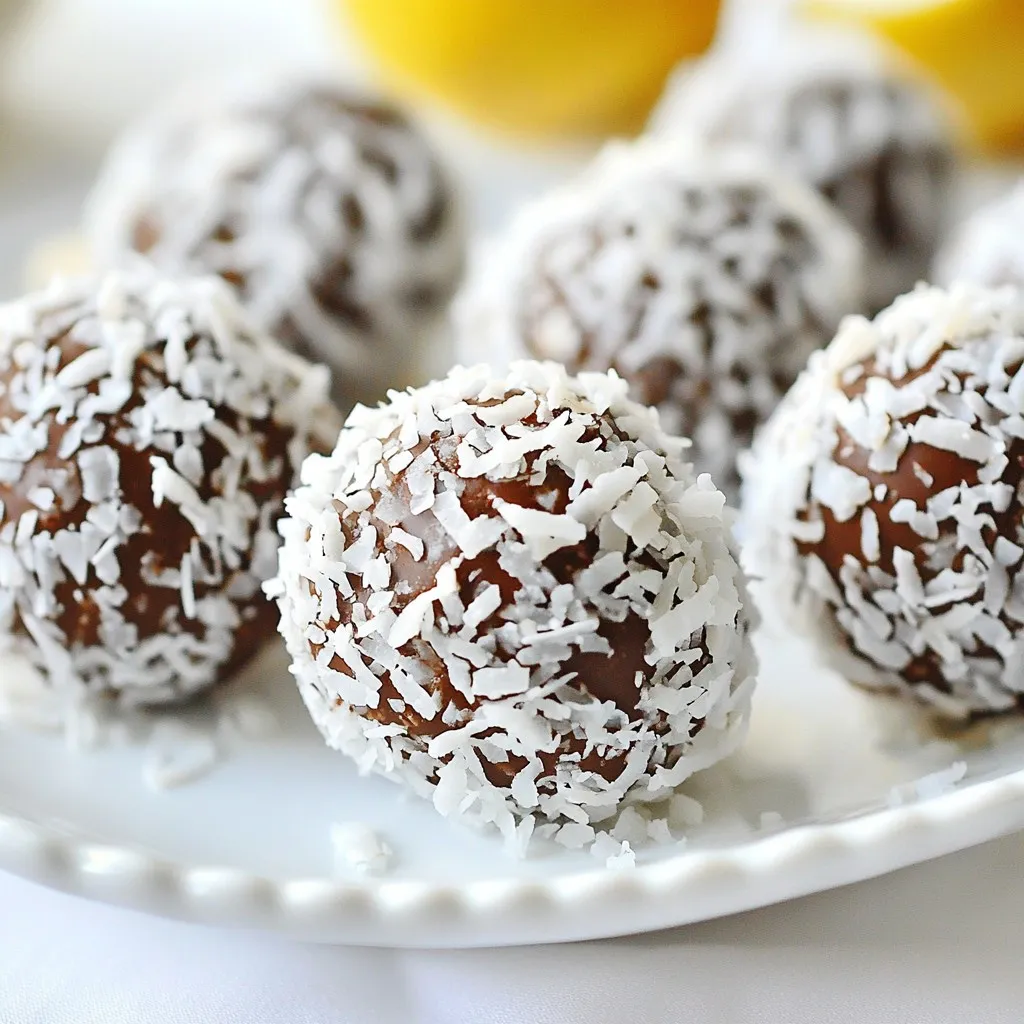
Immediately roll the chocolate-coated truffles in extra desiccated coconut. Make sure they are fully coated. Then, return the coated truffles to the baking sheet.
Final Setting and Serving Suggestions
Now, place the baking sheet back in the refrigerator. Let the truffles set for another 10 to 15 minutes. Once the chocolate hardens, your Chocolate Coconut Snowball Truffles are ready to enjoy! Serve them on a pretty plate or in a gift box. They make a perfect treat for any occasion.
Tips & Tricks
How to Perfect the Texture of Truffles
To get a great texture, use fresh ingredients. Make sure your coconut is soft. Combine your dry and wet items well. The dough should feel sticky but not too wet. If it feels too dry, add a bit more maple syrup. After rolling the truffles, chill them for a bit. This helps them hold shape when dipped in chocolate.
Best Practices for Melting Chocolate
When melting chocolate, go slow. Use a microwave-safe bowl. Heat the chocolate in 30-second bursts. Stir after each burst until smooth. This method keeps chocolate from burning. If you notice it getting thick, add a teaspoon of coconut oil. It will help keep your chocolate smooth and shiny.
Serving Sizes and Presentation Ideas
These truffles make a perfect sweet treat. Each recipe gives you about 12 truffles. For serving, place them on a nice plate. Add some extra coconut around them for a pretty look. You can also use small cupcake liners. They make the truffles easy to grab. For a fun twist, serve them with fresh fruit like strawberries. Enjoy!
Pro Tips
- Chill the Dough: For easier handling, ensure the dough is thoroughly chilled before rolling into balls. This helps maintain their shape when dipped in chocolate.
- Quality Chocolate: Use high-quality dark chocolate for dipping. The better the chocolate, the richer the flavor of the truffles.
- Customize Your Coating: Feel free to experiment with different coatings like crushed nuts, cocoa powder, or sprinkles for added texture and flavor.
- Storage Tips: Store truffles in an airtight container in the refrigerator. They can last up to a week, but they are best enjoyed fresh!
Variations
Additional Flavor Combinations
You can change the flavor of your Chocolate Coconut Snowball Truffles. Try adding a few drops of peppermint extract for a minty twist. A spoonful of almond extract adds a nice nutty taste. You can also mix in some orange zest for a fruity kick. Each of these flavors makes the truffles exciting and fun.
Dietary Adjustments (vegan, gluten-free)
These truffles are naturally vegan and gluten-free! The ingredients are simple and clean. Use dairy-free chocolate chips to keep them vegan. For gluten-free options, ensure your almond flour is certified gluten-free. You can enjoy these treats without worry about your diet.
Seasonal Add-ins (like nuts or dried fruits)
Feel free to add nuts or dried fruits for a seasonal touch. Chopped walnuts or pecans give a nice crunch. Dried cherries or cranberries add sweetness and color. These add-ins not only enhance taste but also make your truffles unique each time. Mix and match to find your favorite combinations!
Storage Info
How to Store Chocolate Coconut Snowball Truffles
To keep your Chocolate Coconut Snowball Truffles fresh, place them in an airtight container. Use parchment paper between layers to avoid sticking. This method helps maintain their shape and texture. Store the container in the refrigerator.
Shelf Life and Best Practices
These truffles will last about a week in the fridge. If you want them to stay fresh longer, check for any signs of moisture. Moisture can make the truffles spoil faster. Always use a clean spoon to avoid contamination when serving.
Freezing Truffles for Extended Freshness
You can freeze Chocolate Coconut Snowball Truffles for up to three months. First, place them on a tray in a single layer. Once they are frozen, transfer them to a freezer bag. Make sure to remove as much air as possible. When ready to enjoy, take them out and let them thaw in the fridge.
FAQs
Can I use different types of chocolate?
Yes, you can use different types of chocolate. Dark chocolate gives a rich taste. Milk chocolate offers a sweeter flavor. White chocolate adds creaminess. Choose what you like best!
How do I prevent truffles from melting?
To keep truffles from melting, store them in a cool place. Chilling the truffles helps them stay firm. Use a good amount of coconut oil in the mix. This helps the truffles hold their shape.
Can I make these truffles without coconut?
Yes, you can make truffles without coconut. You can use crushed nuts or cocoa powder instead. This will change the flavor but still be tasty. Feel free to experiment with your favorite ingredients!
These chocolate coconut snowball truffles are easy and fun to make. We covered the main and optional ingredients, plus how to customize them. You learned how to prepare, shape, and coat your truffles. With tips for perfect texture and chocolate melting, you’ll impress your friends. Variations help cater to different diets. Finally, proper storage ensures your treats stay fresh. Enjoy making these truffles and experiment to create your own unique version
Chocolate Coconut Snowball Truffles
Delicious truffles made with coconut, almond flour, and dark chocolate.
Course Dessert
Cuisine Vegan
Servings 12
Calories 150 kcal
- 1 cup desiccated coconut (plus extra for coating)
- 1/2 cup almond flour
- 1/2 cup unsweetened cocoa powder
- 1/4 cup maple syrup
- 2 tablespoons coconut oil, melted
- 1 teaspoon vanilla extract
- a pinch salt
- 1/2 cup dark chocolate chips (dairy-free if needed)
In a mixing bowl, combine the desiccated coconut, almond flour, cocoa powder, maple syrup, melted coconut oil, vanilla extract, and salt. Stir until the mixture is well combined and forms a sticky dough.
Use your hands to scoop out small portions of the dough and roll them into balls, about 1-inch in diameter. Place the balls on a baking sheet lined with parchment paper.
Once all dough is shaped into truffles, place the baking sheet in the freezer for about 15-20 minutes, until the truffles are firm.
While the truffles are chilling, melt the dark chocolate chips in a microwave-safe bowl in 30-second intervals, stirring in between until smooth.
Remove the truffles from the freezer and dip each one into the melted chocolate, using a fork to lift them out and allowing any excess chocolate to drip off.
Immediately roll the chocolate-coated truffles in the extra desiccated coconut to cover them completely. Return the coated truffles to the parchment-lined baking sheet.
Once all truffles are coated and rolled, place them back in the refrigerator for another 10-15 minutes to set the chocolate.
Enjoy your delicious Chocolate Coconut Snowball Truffles!
For a dairy-free option, use dairy-free chocolate chips.
Keyword chocolate, coconut, dessert, truffles, vegan
WANT TO SAVE THIS RECIPE?